Nov 5, 2021

Crockpot Olive Garden Chicken

This crockpot Olive Garden chicken is to die for! The juicy and tender chicken cooked with some pasta is insanely delicious! Plus, it’s super easy which is a total win-win!

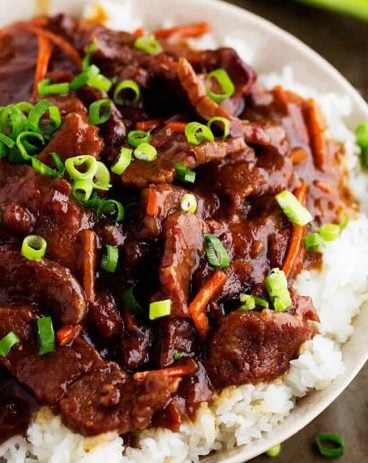
I love an easy and delicious crockpot meal! If you want to try more meals like this, you should start with Soup, this Beef and Broccoli, and this amazing Lasagna!
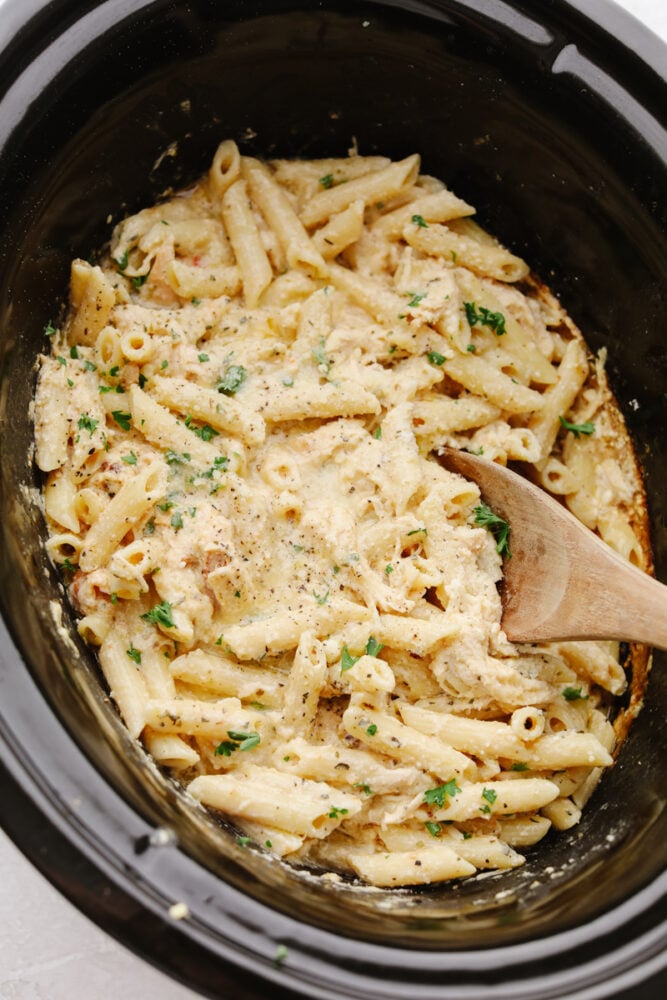
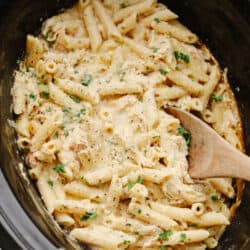
Chicken and pasta cooked in a crockpot.

Crockpot Olive Garden Chicken (with Pasta!)

I love a recipe that I can whip up at the last minute and still have it taste delicious!! This Olive Garden crockpot chicken and pasta is the perfect meal! It only takes 5 minutes to put together! Then, it cooks all day and you don’t have to do a thing! Cook up some Broccoli, Asparagus, or this delicious salad and you have a meal to remember!

This recipe only uses 5 ingredients! And one is a bottle of Olive Garden salad dressing. The dressing is SO GOOD and when you mix it with the chicken and cheeses, it takes it to a whole new level! I also love that you just throw in some cooked pasta again and the meal is done! My kids go crazy over this and are so impatient that they want to just eat it straight out of the crockpot! Go ahead and try it! You are going to love it!

Ingredients for Crockpot Olive Garden Chicken

This recipe only uses 5 ingredients…. yes, 5! It’s so easy and delicious, you have to try it! See the recipe card below for a list of exact ingredient measurements.

  • Chicken breasts: Use fresh boneless, skinless chicken breasts for this recipe.
  • Olive Garden Italian dressing: This dressing is SO GOOD! Using the entre bottle will make it so you get all of that amazing flavor!
  • Parmesan:  I just used parmesan cheese from the can! It’s super easy and you probably already have it in your fridge.
  • Cream cheese: This makes that sauce texture taste so creamy. And you can’t beat the tangy flavor of cream cheese!
  • Pasta: Cook up the pasta right before the chicekn is done and all you have to do is throw it right in and mix it up!
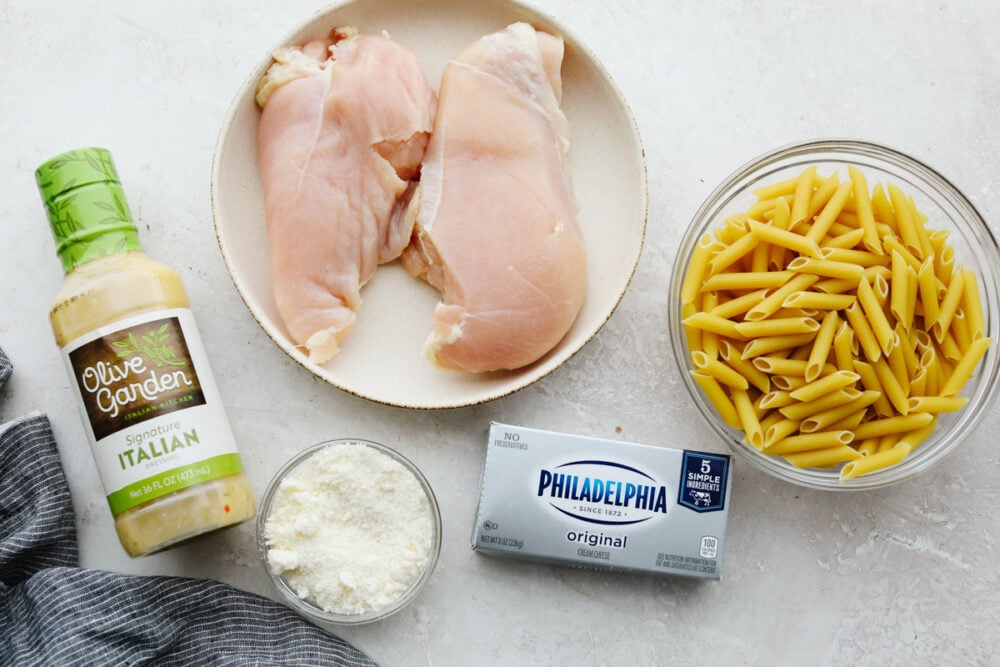
Ingredients laid out for Olive Garden crockpot chicken.

Let’s Cook Some Chicken!

This meal is really a set it and forget it kind of meal! It only takes a few minutes to put it together and then you can enjoy it as soon as it’s done!

  1. Add chicken and dressing: Place the chicken breasts in a slow cooker laying flat. Pour the whole bottle or homemade olive garden dressing over top the chicken.
  2. Add cheeses and cook: Sprinkle parmesan over top the chicken and dressing. Place the block of cream cheese on top. Cover the slow cooker with the lid and cook for 6 hours on low or 4 hours on high. 
  3. Cook pasta: Cook the pasta according to package directions. Drain and set aside. 
  4. Shred the chicken, add pasta and serve: Using 2 forks or shredders, shred the chicken evenly. Use ¼ cup parmesan and sprinkle over top the chicken. Add in the pasta and stir until well combined. Serve while hot.
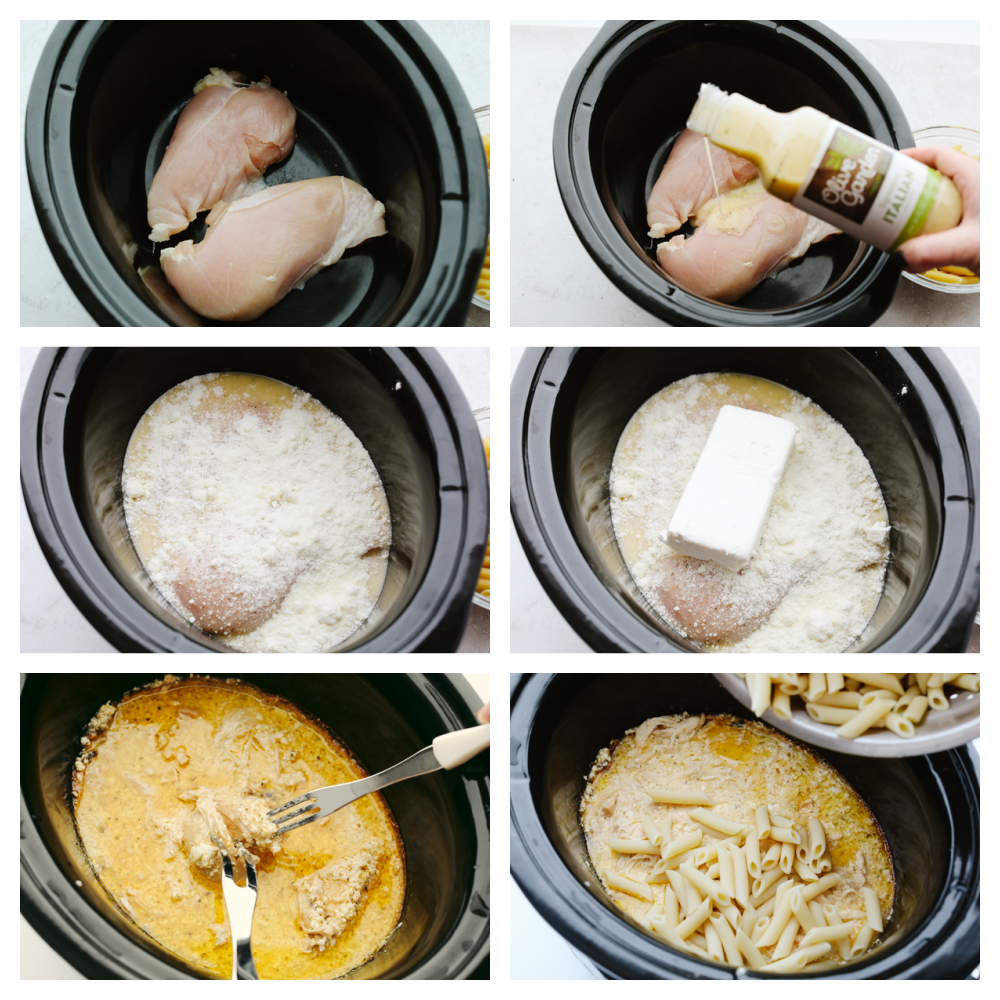
Chicken being placed in a crockpot and ingredients being added on top of it.

Tips for Cooking with a Crockpot

Using a crockpot is easy but try out these tips and it will make cooking with one even easier! You may never go back to cooking on your stove again! This crockpot Olive Garden chicken is the perfect place to start!

  • Keep the lid ON: I know it’s tempting to want to take the lid off and check on your food! But a crockpot is designed to do its thing with the lid ON. Keep the lid on and don’t let out all of that heat that has been built up! Just look throught the glass and trust your recipe!
  • Preheat your crockpot: A lot of people don’t do this and it really is a step that should always be taken. Turn your crockpot on to the correct setting about 20 minutes before you plan on putting your food it. You can just turn it on while you prep your food!
  • Spray it: If you spray your slow cooker with cooking spray before you put your food in, then your cleanup will be so much easier! This helps so that your food doesn’t stick to the sides. Trust me, it’s an easy step that you will appreciate doing later!
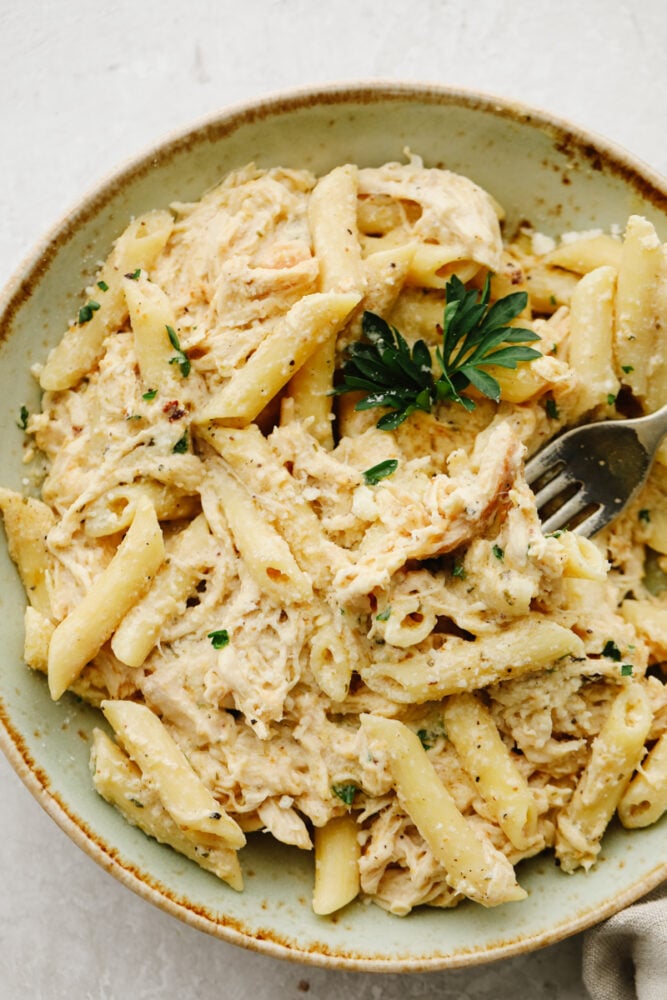
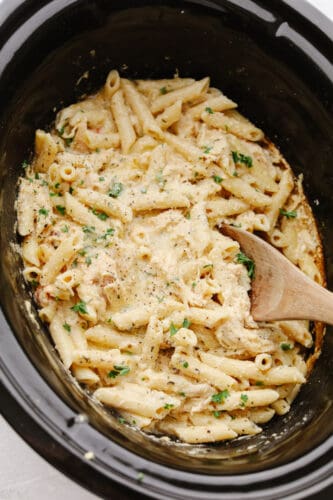
Chicken and pasta on a plate with a fork.

How to Store Leftovers

If you have some leftovers with this dish then consider yourself lucky! This crockpot Olive Garden chicken and pasta is so delicious the next day! Once the food has cooled them store it in an airtight container in your fridge. It will last for 3-4 days! When you are ready to eat, you can heat it up in your microwave for 1-2 minutes or until heated through!

Print

Crockpot Olive Garden Chicken

This Olive Garden crockpot chicken is to die for! The juicy and tender chicken cooked with some pasta is insanely delicious! Plus, it's super easy which is a total win-win!
Course Dinner
Cuisine American
Keyword crock pot olive garden chicken, olive garden chicken
Prep Time 5 minutes
Cook Time 6 hours 15 minutes
Total Time 6 hours 20 minutes
Servings 6 people
Calories 414kcal
Author Alyssa Rivers

Ingredients

Instructions

  • Place the chicken breasts in a slow cooker laying flat. Pour the whole bottle or homemade olive garden dressing over top the chicken.
  • Sprinkle parmesan over top the chicken and dressing. Place the block of cream cheese on top. Cover the slow cooker with the lid and cook for 6 hours on low or 4 hours on high.
  • Cook the pasta according to package directions. Drain and set aside.
  • Using 2 forks or shredders, shred the chicken evenly. Use ¼ cup parmesan and sprinkle over top the chicken. Add in the pasta and stir until well combined. Serve while hot.
Nutrition

Calories: 414kcal | Carbohydrates: 25g | Protein: 34g | Fat: 19g | Saturated Fat: 10g | Polyunsaturated Fat: 1g | Monounsaturated Fat: 5g | Trans Fat: 1g | Cholesterol: 121mg | Sodium: 381mg | Potassium: 515mg | Fiber: 1g | Sugar: 2g | Vitamin A: 614IU | Vitamin C: 1mg | Calcium: 140mg | Iron: 2mg

Nov 4, 2021

Grandma’s Perfect Pie Crust

Tender, buttery, and easy-to-make, my Grandma’s perfect pie crust is everything you need this Thanksgiving. It’s so foolproof, you won’t want store-bought again!

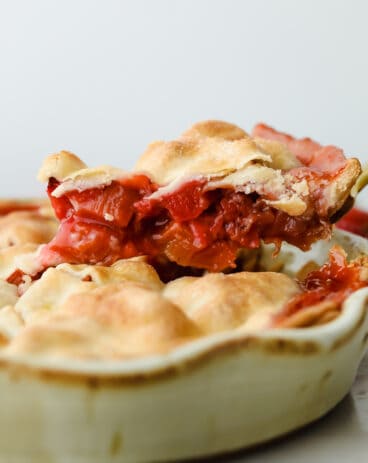
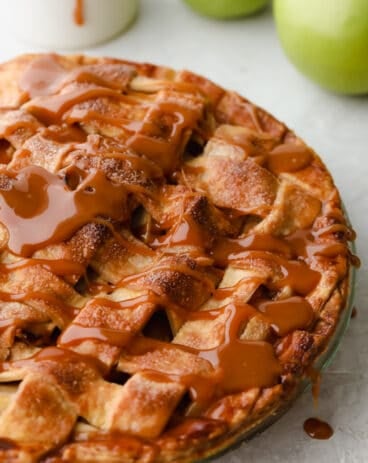
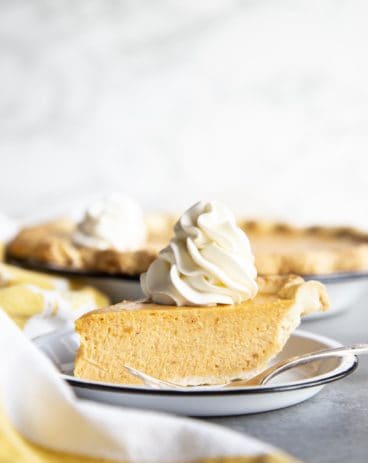
No matter the pie you want, this crust will make it shine. Chocolate, peach, and apple pies are some of my favorites on the blog. They’re all insanely good, I highly recommend you put them in the Thanksgiving pie lineup this year!

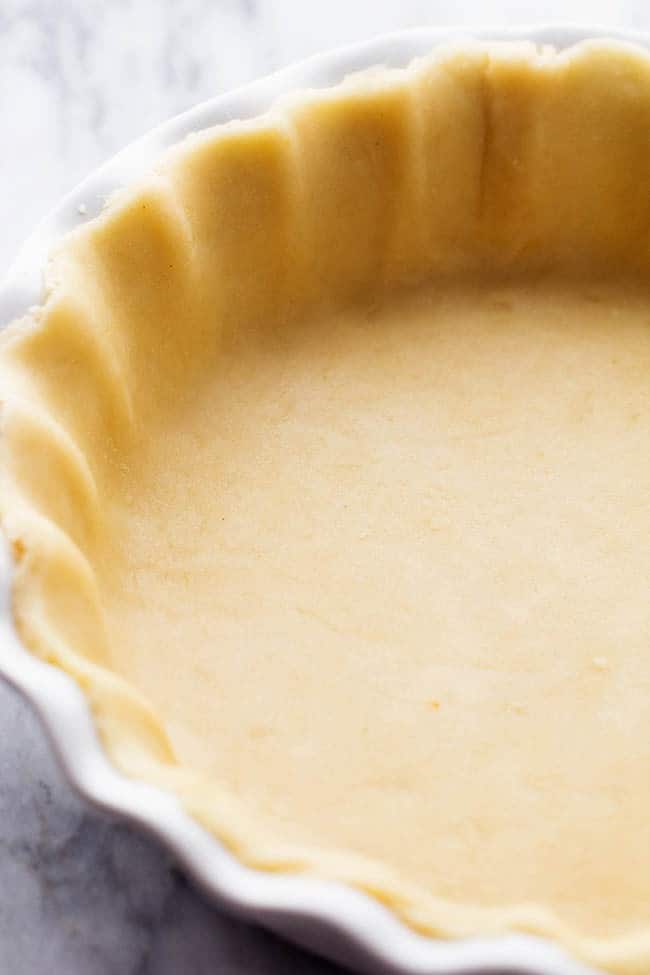
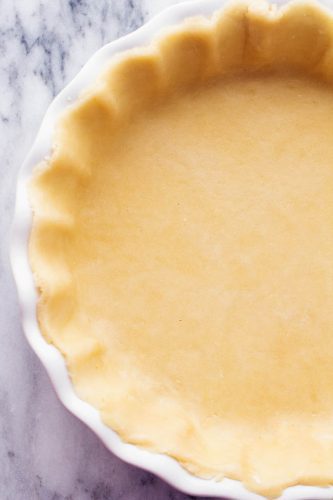
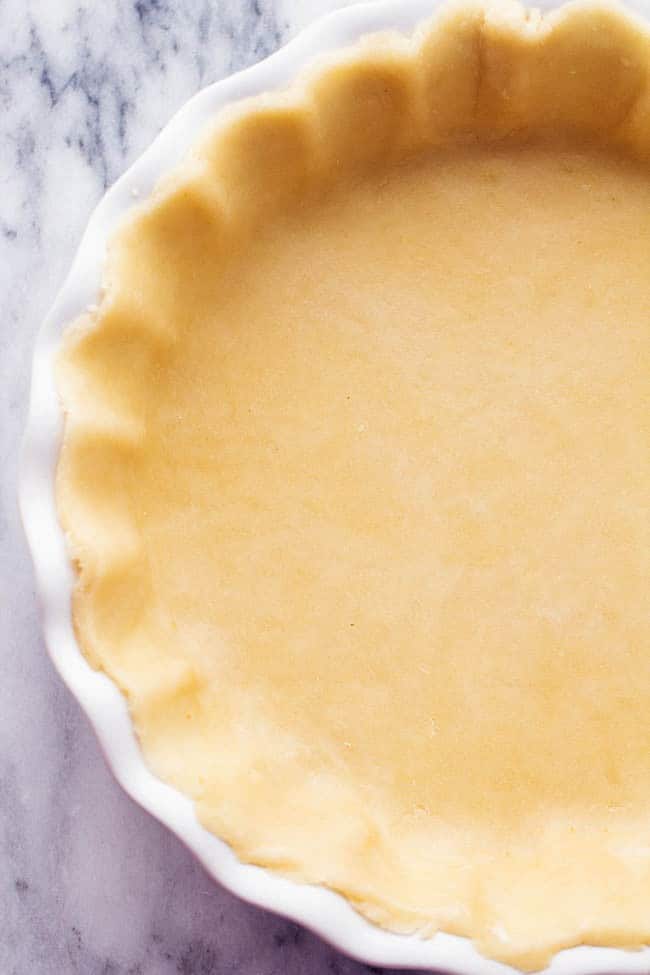
Top-down view of pie crust in white dish.

Super Easy Homemade Pie Crust Recipe

My grandma knew how to make the best pies every year for Thanksgiving. Aside from the absolutely divine fillings, the crusts she made were always tender and flaky! Every year we would look forward to going to my Grandma’s for Thanksgiving. She was the BEST cook. She raised 8 kids and had a home-cooked meal on the table for them each night. Everything she made was from scratch. Growing up, I remember staying a few weeks in the summer with her and she was always baking bread or a batch of peanut butter cookies. As soon as the warm bread came out of the oven she would slice it up and we would eat an entire loaf. You can find that recipe here and join in on the deliciousness!

But really, the best part about Thanksgiving was her pies. You couldn’t wait to finish the meal to have a slice of her cherry pie. In all honesty, I have yet to try a better pie. She would make them all herself and you couldn’t get enough! Her crusts were tender and perfect. In my opinion the best! Sometimes making any kind of dough from scratch can seem intimidating, but today I am going to show you how easy it is! The crust comes together in just a matter of minutes and you probably already have all of the ingredients on hand. Trust me, it’s going to enhance any pie you make! If any recipe is a staple, it’s this one! I’ve included a printable graphic to have on hand for all of your baking needs. Let’s keep the tradition going!

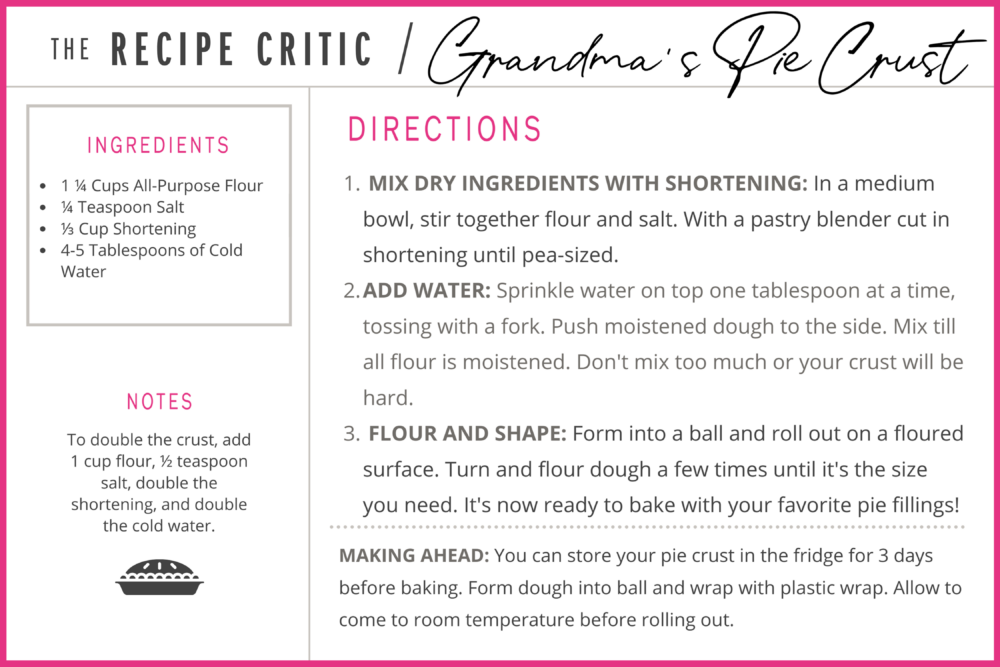
Homemade pie crust recipe printable.

Grandma’s Perfect Pie Crust Ingredient List

Simplicity is key! The best pies start out with a flaky, golden crust with no frills. This pie crust will bring your whole pie together with just pantry staples! Measurements can be found in the printable graphic or recipe card at the end of the post.

  • All-Purpose Flour: All-purpose flour works great for acheiving a soft, flaky crust. It doesn’t have a high protein content, so it will keep the structure nice and light. You can also use a low-protein pastry flour.
  • Salt: You need a little salt to enhance the overall flavor.
  • Shortening: This is needed for fat content. You can also substitute it with butter, margarine, or even coconut oil!
  • Cold Water: This is used to moisten the dough. Be sure to keep it cold! Cooler temperatures is the secret to a nice and flaky pie crust.
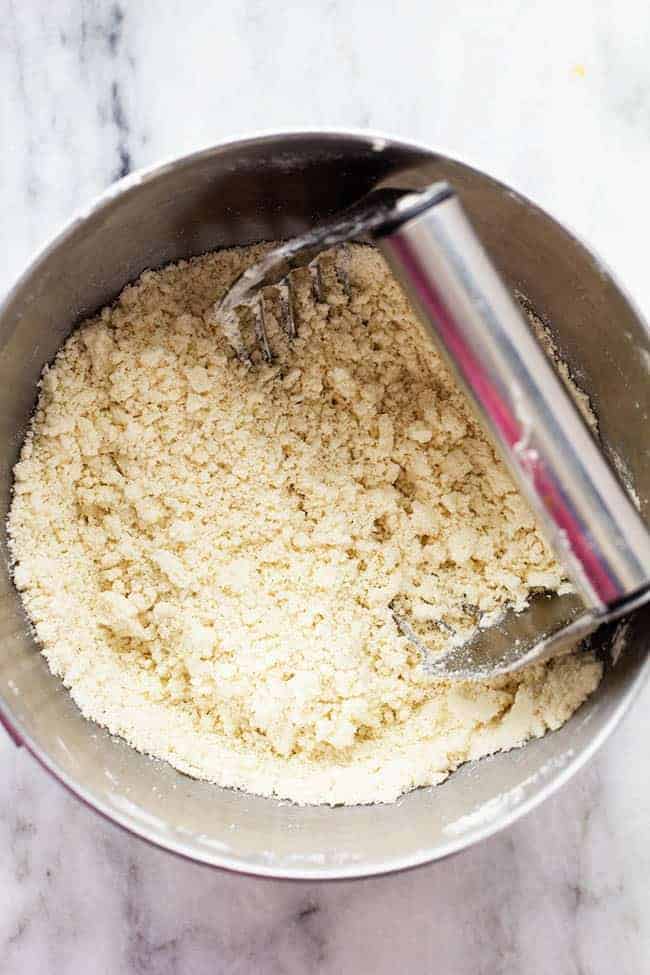
Using a pastry blender to cut ingredients.

How to Make the Perfect Pie Crust

Making a solid pie crust isn’t difficult at all. All you need is a little love and attention to detail! You’re going to love it. It’s better than anything you can get from the store!

  1. Mix Dry Ingredients and Shortening: In a medium bowl, stir together flour and salt. With a pastry blender, cut in shortening till pea sized.
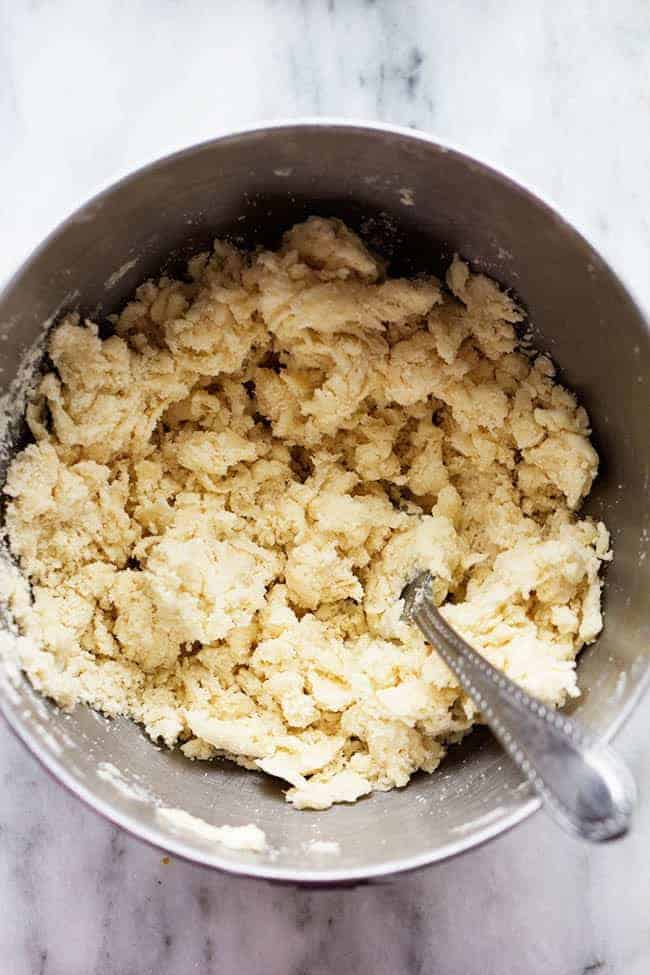
  2. Moisten: Next, we add some cold water. Sprinkle water on top one tablespoon at a time, tossing with a fork. Push moistened dough to the side. Mix until all flour is moistened. Don’t mix too much or your crust will be hard.
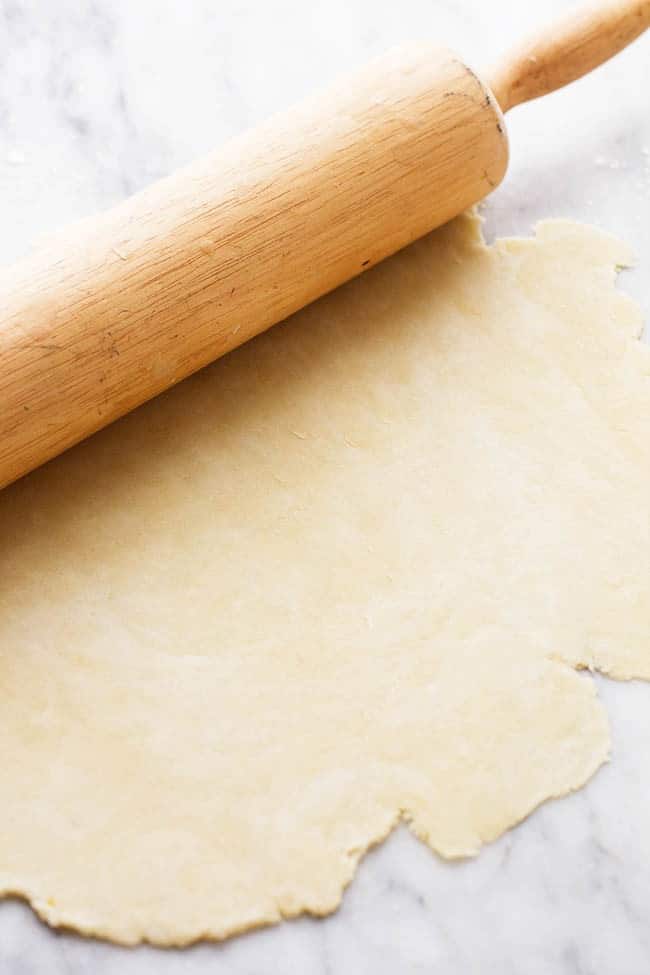
  3. Shape and Roll Out: Form into a ball and roll out on floured surface. Turn and flour dough a few times till its the size you need. It’s now ready for all of your favorite fillings!
Adding water to dough.

Pie Filling Ideas

Whether you want a classic pie, or you’re looking to switch things up a little, I’ve got you covered! From chocolate to citrus, cinnamon to sweet, there’s a pie for everyone. And the good news is, it will taste amazing on your freshly-made pie crust! You can find more delish pie recipes here.

Making a Successful Pie Crust

Making a pie crust from scratch is both tasty and impressive! Here are a few simple tips and tricks to make your crust bakery-worthy. You’re going to love how it turns out!

  • Use Chilled Ingredients: The secret to a flaky crust is to use refrigerated ingredients. Warm ingredients can make your dough tough and dense.
  • Don’t Overmix: As with other homemade pastries, don’t overwork your dough. It can cause gluten to develop and make your crust chewy and hard. You only want to mix your dough until it sticks together and you can start shaping it into a ball.
  • Add Water as You Go: Add too much water and your dough might be hard to salvage. Add too little water and it will be dry and crack. To avoid these extremes, add a little bit of water at a time and mix gently until you have reached your desired consistency.
  • Use a Food Processor: Instead of using a pastry blender to cut ingredients together, you can pop your mixture in a food processor and blend for short intervals. Once it is blended smoothly, you can remove and begin adding water to moisten.
  • Adding Flavors: One tip that is often overlooked is that you can flavor your dough! Whether it be a hint of pumpkin spice, fresh herbs, lemon zest, vanilla, almond extract, or sugar and cocoa powder, it can really take your pie up a notch! You’ve got a flavorful filling- why not add flavor to your crust, too?
Rolling out pie crust dough.

Storing and Making Pie Crust Dough Ahead

You can easily store your pie crust and use it later if you’re not ready to bake! It will be just as flaky and delicious as the day you prepared it!

  • In the Refrigerator: Wrap a ball of uncooked dough in plastic wrap. It will stay good for up to 3 days. Let it come to room temperature before rolling out or it may crack.
  • In the Freezer: Pie crusts are great for freezing and using later. I recommend shaping your dough into a pie pan before freezing. This way, you don’t need to thaw it and it can go straight into the oven. If you’ve frozen a ball of dough, allow it to thaw overnight and then come to room temperature before rolling out. Both shaped crusts and balls of dough need to be wrapped tightly in plastic wrap before freezing.
Pie crust dough pushed into a pie dish.

A Reader’s Review

“Thank you for posting Grandma’s Perfect Pie Crust recipe! I have tried dozens of recipes but could never get the crust to stay together. It makes me happy to be able to make a good pie crust that not only stays together but tastes fantastic!!!”
Ginger
Print

Grandma’s Perfect Pie Crust

My grandma knew how to make the best pies every year for Thanksgiving. The crust is tender and flaky and so easy to make! You will never buy from the store again!
Course Dessert
Cuisine American
Keyword homemade pie crust, pie crust
Prep Time 5 minutes
Total Time 5 minutes
Servings 8 Slices
Calories 147kcal
Author Alyssa Rivers

Ingredients

  • 1 1/4 cups all purpose flour
  • 1/4 teaspoon salt
  • 1/3 cup shortening
  • 4 to 5 Tablespoons cold water

Instructions

  • In a medium bowl stir together flour and salt. With a pastry blender cut in shortening till pea-sized.
  • Sprinkle water on one tablespoon at a time tossing with a fork. Push moistened dough to the side. Mix till all flour is moistened. Don't mix too much or the crust will be hard.
  • Form into a ball and roll out on the floured surface. Turn and flour the dough a few times till it's the size you need.

Notes

Updated on November 4, 2021
Originally Posted on October 10, 2015
To double the crust:
add 1 more cup flour
1 more ½ t salt
Double the shortening
Double the cold water

Nutrition

Calories: 147kcal | Carbohydrates: 15g | Protein: 2g | Fat: 9g | Saturated Fat: 2g | Sodium: 73mg | Potassium: 21mg | Fiber: 1g | Sugar: 1g | Calcium: 3mg | Iron: 1mg

The Absolute Best Snickerdoodles

These snickerdoodle are delightfully soft and full of delicious cinnamon flavor! They are SO GOOD and you won’t be able to stop at just one!

Soft and chewy cookies are the BEST! If you love snickerdoodles then you should also try these amazing Sprinkle Cookies, Pumpkin Cookies, and these perfectly soft Peanut Butter Cookies!

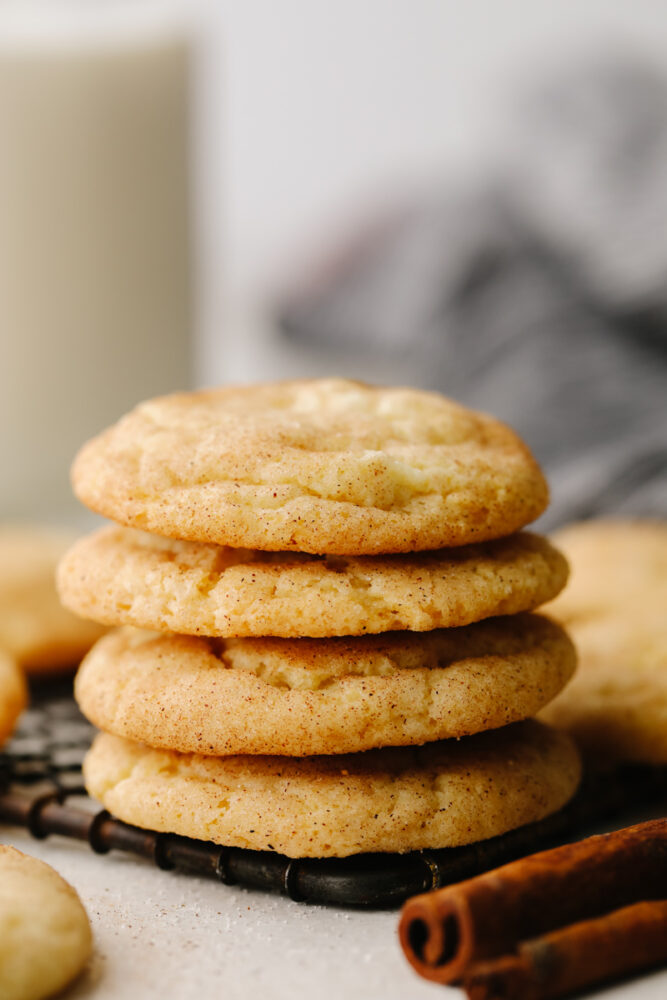
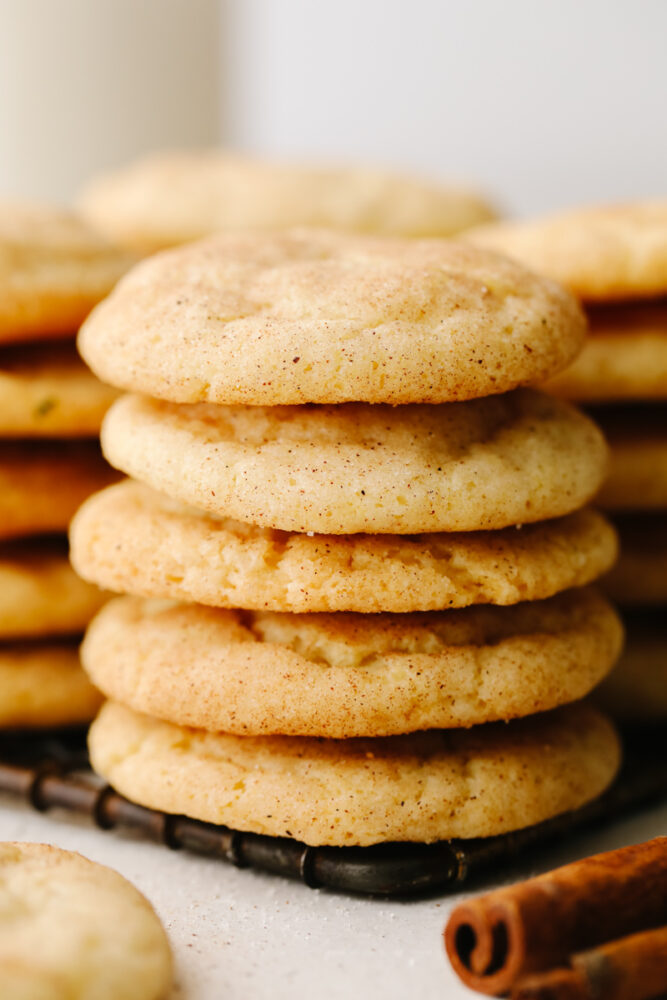
A stack of snickerdoodles on a cooling rack.

Snickerdoodles

Ok, we all know that I have tried my fair share of snickerdoodle recipes. Some turn out ok, some are terrible and a few are actually even really good. But… Trust me when I tell you that these are the absolute best snickerdoodles!! This recipe has been perfected and makes the softest, most mouthwatering cookies that you’ve ever had!

The amount of cinnamon is perfect. It’s not a subtle taste but it’s not too strong either and you taste it in every single bite! These cookies fly off of my counter when I make them! So if you are going to make them then you should just double the recipe from the beginning. You will for sure want the extra cookies so you will be so glad that you did! This snickerdoodle recipe is insanely delicious and your family and friends will all be asking for the recipe!

Ingredients You Need to Make Snickerdoodles

You probably already have all of these ingredients in your kitchen. So these should be super easy to whip up! See the recipe card below for al list of exact ingredient measurements.

  • Flour: I used all purpose flour to make these cookies!
  • Cream of tartar: This not only helps make the cookies soft but it brings in a slight tang that we all know and love in a snickerdoodle cookie!
  • Baking soda: This is used in cookies to help them rise so that they aren’t flat and hard.
  • Salt: I use salt to enhance the flavors of the other ingredients.
  • Butter: I used unsalted butter that I softened to room temperature. This helps it so that it mixes in more smoothly!
  • Granulated Sugar: You need sweet sugar to make your cookies taste as delicious as they do!
  • Eggs: The eggs will bind all of the ingredients together so that they mix well.
  • Vanilla extract: The vanilla adds a bit of flavor to the sweet taste.

Cinnamon Sugar

  • Granulated sugar and Cinnamon: This is what you will roll the dough in to get that sweet cinnamon sugar flavor!
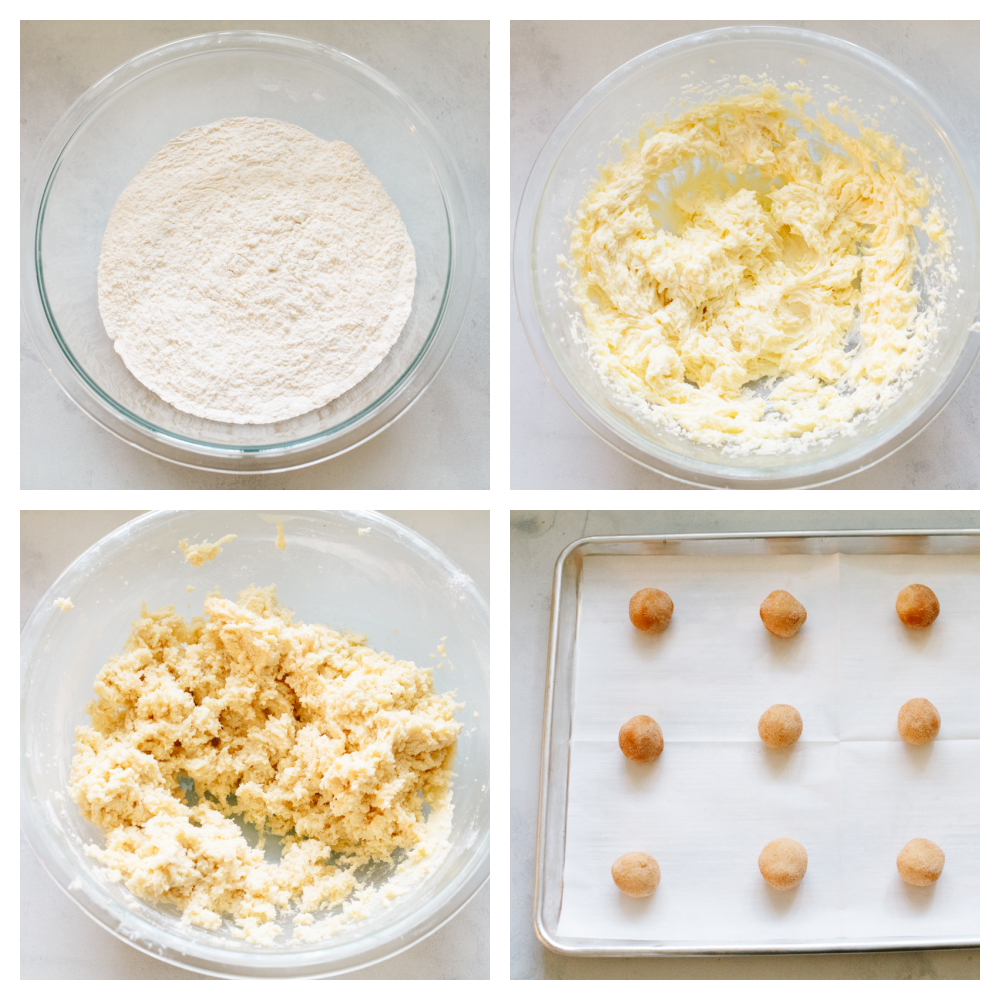
4 pictures showing steps for how to make the dough and roll it in cinnamon sugar.

Let’s Make Some Cookies!

These snickerdoodles take less than an hour to make… and that includes baking time! They are super easy and your kids will love helping you make them!

  1. Prep: Preheat the oven to 375° and line a baking sheet with parchment paper.
  2. Whisk: In a medium sized bowl whisk together the flour, cream of tartar, baking soda and salt. Set aside.
  3. Beat eggs and sugar, combine: In another medium bowl beat the butter and sugar together until pale and fluffy, about 4-5 minutes. Add in the eggs and vanilla and beat for another 2 minutes. Be sure to scrape down the sides of the bowl to make sure everything is well combined.
  4. Combine all ingredients and chill: Add the dry ingredients in to the wet and mix until fully combined. Cover the bowl with plastic wrap and chill for 30 minutes.
  5. Mix up cinnamon and sugar: While the dough chills, combine the sugar and cinnamon in a small bowl.
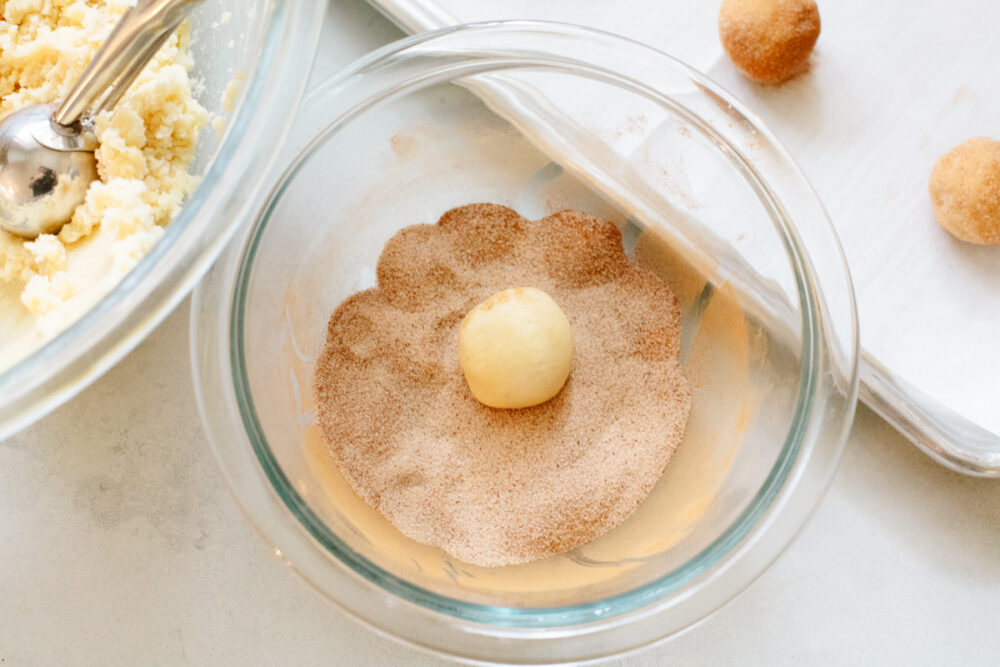
  6. Form balls and roll them, then bake: Form the dough into equal sized balls, about 1 inch and roll in the cinnamon sugar and coat evenly. Place the coated balls on the baking sheet keeping about 2 inches between them. Bake for 10 minutes. Allow to cool for a few minutes on the pan before transferring to a cooling rack.
A snickerdoodle dough ball being rolled into cinnamon sugar.

Baking Tips

These snickerdoodles are so delicious! You can make them for a party, get together or just for an after school snack! Here are some ideas on how you can make them perfectly!

  • Room temperature ingredients: I know that this can take a bit of thought beforehand but it really helps! Make sure to take all of your refrigerated ingredients out and put them on the counter a few hours before you plan on baking. Bringing your ingredients to room temperature really helps them mix nicely together and makes the dough really smooth!
  • Don’t open the oven door: I know that it’s tempting to open the oven door while you are baking your cookies. After all, you just want to see how they are doing! But, when you open the door while you are baking, you let a lot of the heat out. This makes it so that your cookies will bake unevenly.
  • Underbake: Remove the cookies from the oven while they still look gooey in the center. They will continue to bake on the hot tray after they have been removed from the oven!
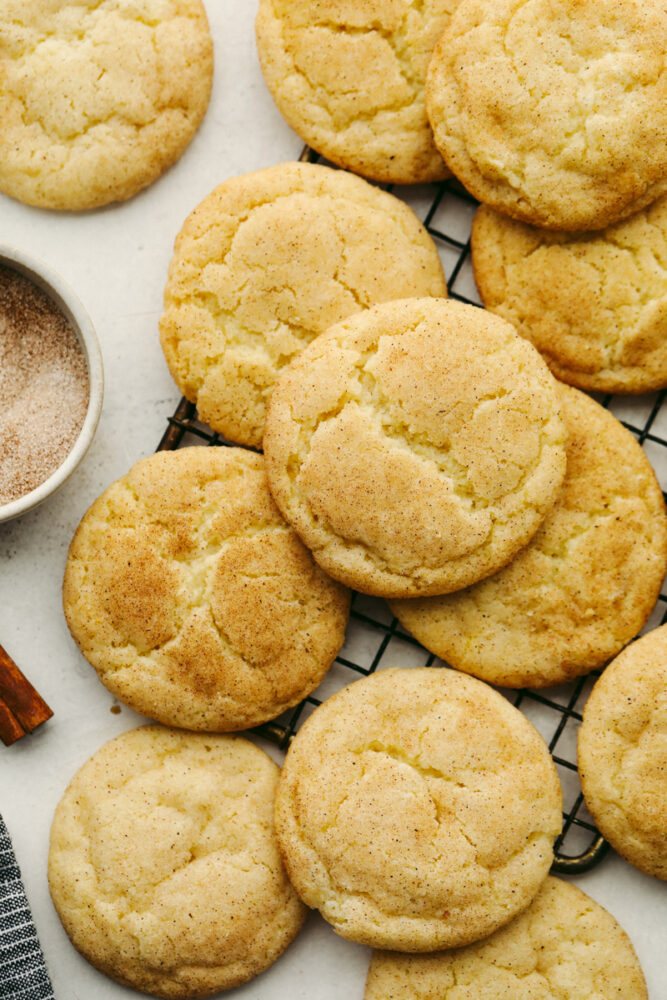
Snickerdoodles on a cooling rack.

How to Freeze the Dough

If you just want to keep some snickerdoodle dough on hand so that you can bake these later, you totally can! Sometimes it’s nice not to have to prep and skip straight to baking the cookies!

  1. Freeze: After you roll the dough in the cinnamon sugar mixture then place them on a baking sheet and put them in your freezer for 2 hours. After they have frozen solid the you can take them out and put them in an airtight container . You can store it for up to 2 months!
  2. To Bake Frozen Cookie Dough: Preheat your oven to 400 degrees. Put your frozen dough onto a baking sheet that has been lined with parchment paper. Bake them for 8-10 minutes or until golden brown.
A stack of cookies on a cooling rack.

How to Freeze and Store Leftover BAKED cookies

If you want to have a quick dessert on hand, then these are the cookies for you! You can do all of the baking beforehand, freeze them and all that you have to do is pull them out of the freezer and you’re done! So, bake the cookies up and let them cool. Then, place them in an airtight container or ziplock bag. Make sure to label it with the date! These will last in your freezer for up to 2 months. You can eat them right out of the freezer or you can set them on the counter for 15 minutes to thaw!

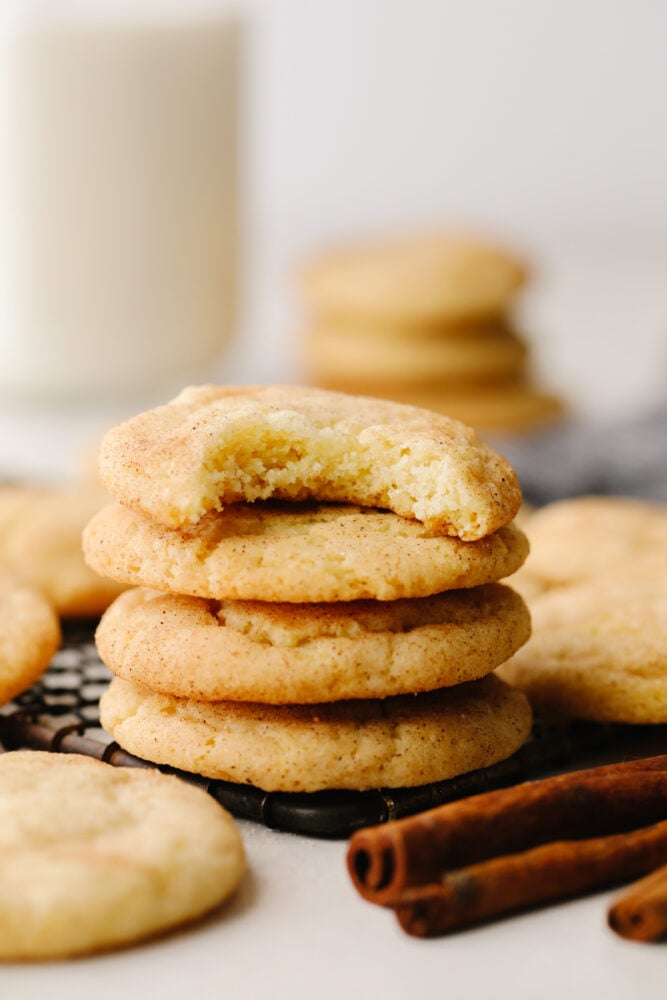
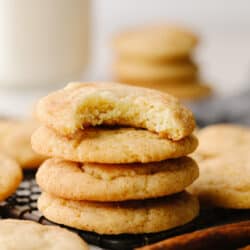
A stack of snickerdoodle cookies with a bite taken out of the top one!
Print

The Absolute Best Snickerdoodle Cookies

These snickerdoodle are delightfully soft and full of delicious cinnamon flavor! They are SOO GOOD and you won't be able to stop at just one!
Course Dessert
Cuisine American
Keyword Snickerdoodle, snickerdoodle cookies
Prep Time 45 minutes
Cook Time 10 minutes
Total Time 55 minutes
Servings 30 Cookies
Calories 155kcal
Author Alyssa Rivers

Ingredients

  • 3 Cups All Purpose Flour
  • 2 Teaspoon Cream of Tartar
  • 1 Teaspoon Baking Soda
  • ½ Teaspoon Salt
  • 1 Cup Unsalted Butter Softened but not too soft
  • 1 ½ Cup Granulated Sugar
  • 2 large Eggs
  • 1 Tablespoon Vanilla Extract

Cinnamon Sugar

  • 1/3 Cup Granulated Sugar
  • 1 ½ Tablespoon Cinnamon

Instructions

  • Preheat the oven to 375° and line a baking sheet with parchment paper.
  • In a medium sized bowl whisk together the flour, cream of tartar, baking soda and salt. Set aside.
  • In another medium bowl beat the butter and sugar together until pale and fluffy, about 4-5 minutes. Add in the eggs and vanilla and beat for another 2 minutes. Be sure to scrape down the sides of the bowl to make sure everything is well combined.
  • Add the dry ingredients in to the wet and mix until fully combined. Cover the bowl with plastic wrap and chill for 30 minutes.
  • While the dough chills, combine the sugar and cinnamon in a small bowl.
  • Form the dough into equal sized balls, about 1 inch and roll in the cinnamon sugar and coat evenly. Place the coated balls on the baking sheet keeping about 2 inches between them. Bake for 10 minutes. The cookies will look quite underbaked, but that's how they should look! Allow to cool for a few minutes on the pan before transferring to a cooling rack.

Nutrition

Calories: 155kcal | Carbohydrates: 22g | Protein: 2g | Fat: 7g | Saturated Fat: 4g | Polyunsaturated Fat: 1g | Monounsaturated Fat: 2g | Trans Fat: 1g | Cholesterol: 29mg | Sodium: 81mg | Potassium: 55mg | Fiber: 1g | Sugar: 12g | Vitamin A: 208IU | Vitamin C: 1mg | Calcium: 10mg | Iron: 1mg