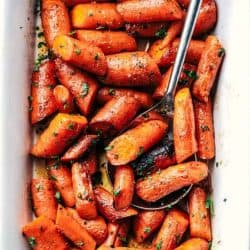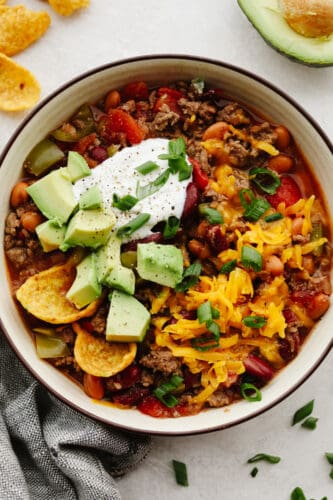
Dec 10, 2021

Insanely Good Crockpot Chili

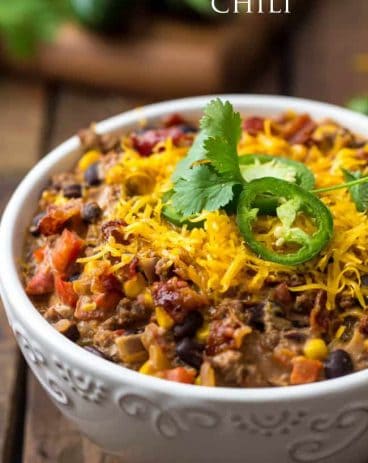
Crockpot chili is the ultimate comfort food! This chili is SO easy and insanely good that everyone will come back for seconds!

I love a good chili and all of the sides that I can put with it! Try out this Cornbread, these Breadsticks, or this amazing Grilled Cheese. They are so good and will complement this chili so well!
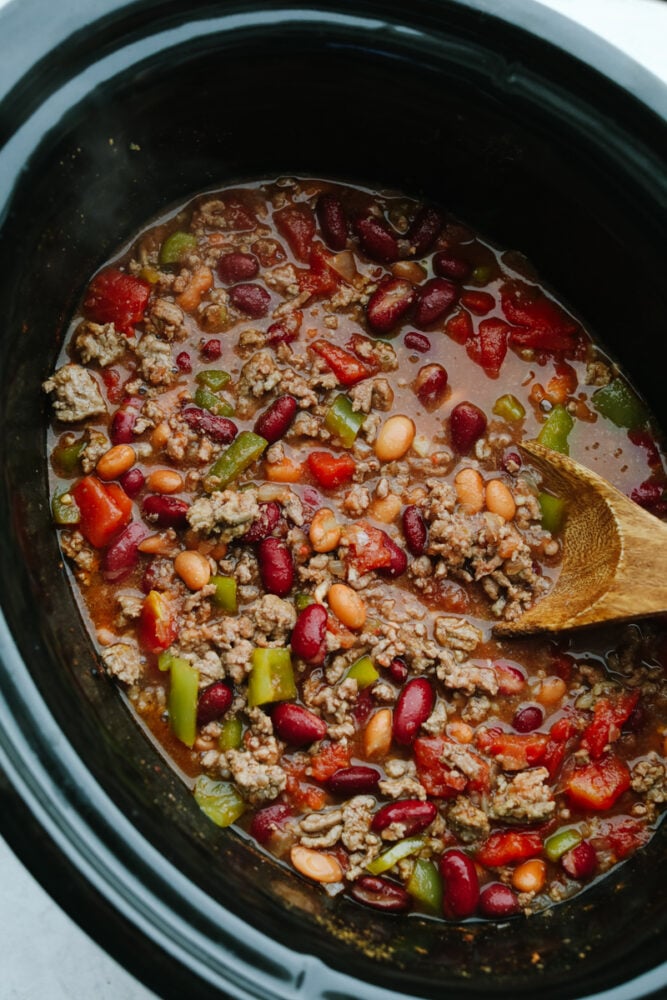
Chili in a crock pot.

Homemade Crockpot Chili

Chili is such a classic meal during the cold, winter months. It’s the ultimate comfort food that is a go-to recipe ALL the time in my family! Plus, when you make it in a slow cooker it makes it so easy! Not only does this recipe have classic ingredients like meat and beans but it really goes to the next level of flavor with veggies and spices! It is making my mouth water just thinking about it!

I love chili for dinner because it’s so hearty and filling. In fact, on the days when I am on the go, I don’t even make and sides with this! It has everything that I need in the recipe including meat and vegetables. This is also a go-to recipe for me for a party! Because it’s in a slow cooker, it makes it easy to transport and serve anywhere else. Plus, it’s perfect for a chili cook-off! It will win every time. Try it with these Nachos or put it on top of this Rice for a little added extra flavor and texture!

Ingredients You Need for Crockpot Chili

You probably already have all of the ingredients on hand! Which makes it super easy to whip this up for dinner anytime. See the recipe card at the bottom of the post for exact measurements.

  • Ground beef: I like to use lean ground beef or even ground turkey for this recipe.
  • Olive oil: Just a little bit is fine to cook up the vegetables in.
  • Onion: An onion that is small and diced will work great for this.
  • Green bell pepper: Dice this up to all of the same size so that the pieces cook evenly.
  • Garlic cloves: If you dont have fresh cloves then you can use minced garlic. ½ tsp equals about one clove of garlic!
  • Beef broth: This is the base of the chili and is better than water because it adds a lot of flavor to the chili.
  • Tomato sauce: Make sure that you are getting tomato sauce and not tomato paste.
  • Diced tomatoes: These can come in flavored juices so make sure that you get the ones that are just in plain tomatoes sauce.
  • Pinto beans: I love the flavor of pinto beans!
  • Kidney beans: Dark or light kidney beans will work. Just use whatever you have on hand.
  • Chili powder, Oregano, Cumin, Coriander and Cayenne: These spices mixed together make such a delicious blend! Not too much heat but a lot of flavor!

Let’s Make Some Chili!

This slow cooker chili recipe only takes about 5 minutes to put together! Then you let the slow cooker do all of the work. It’s so easy and delicious, there should be no question about it you try it or not!

  1. Add ingredients to slow cooker: In a medium sized skillet over medium high heat cook and crumble the beef for about 7 minutes or until brown. Add the beef, onion, bell pepper, garlic, beef broth, tomato sauce, diced tomatoes, pinto beans, kidney beans, chili powder, oregano, cumin, coriander, salt and cayenne to the slow cooker. Stir everything until combined. Cook on low for 5-6 hours. Serve warm with desired toppings.
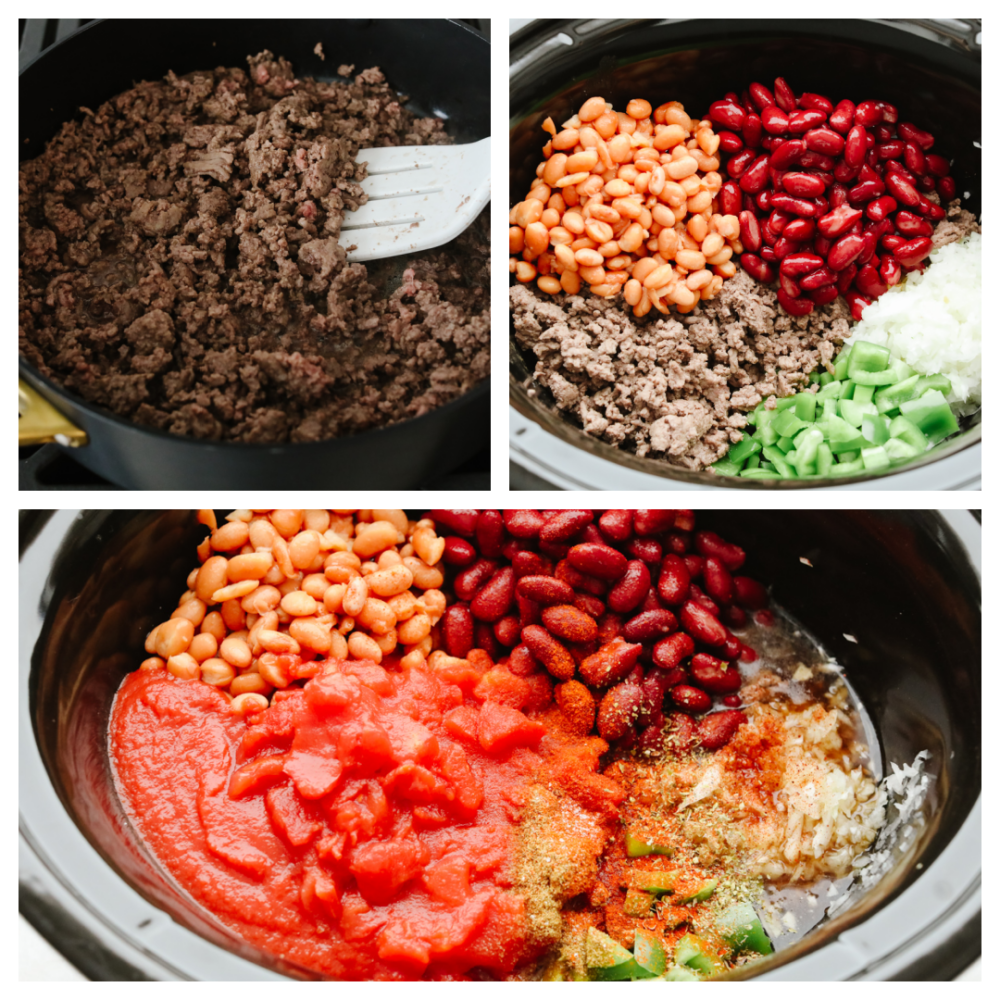
3 pictures showing ingredients being added to a slow cooker.

Toppings You Can Use

I’ve come up with a list of a bunch of delicious things that you can add to your crockpot chili! Try a couple or try them all. You really can’t go wrong with too many toppings!

  • Fresh lime juice
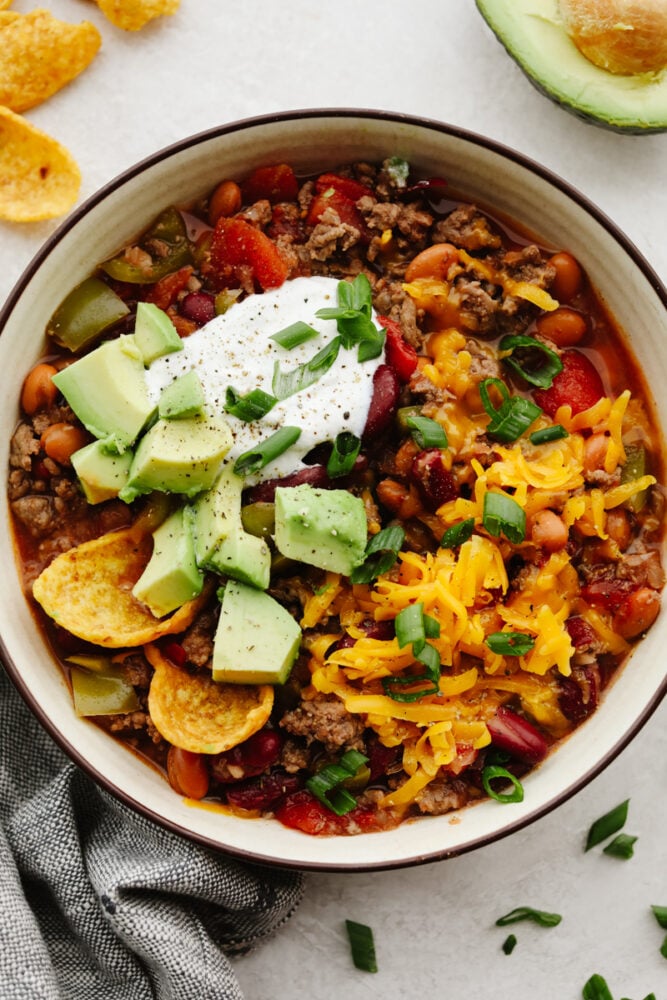
  • Sour cream
  • Avocado
  • Shredded lettuce
  • Shredded cheese
  • Green onions
  • Frito chips
  • Tortilla strips
  • Cilantro
A bowl of chili with toppings.

How to Store Leftovers

If you have leftovers of this crockpot chili then you are in luck! This tastes just as good, if not better, the next day. Once it has cooled, place it in an airtight container and put it in your fridge. It can last 3-4 days. Just reheat it in the microwave when you are ready to eat it again!
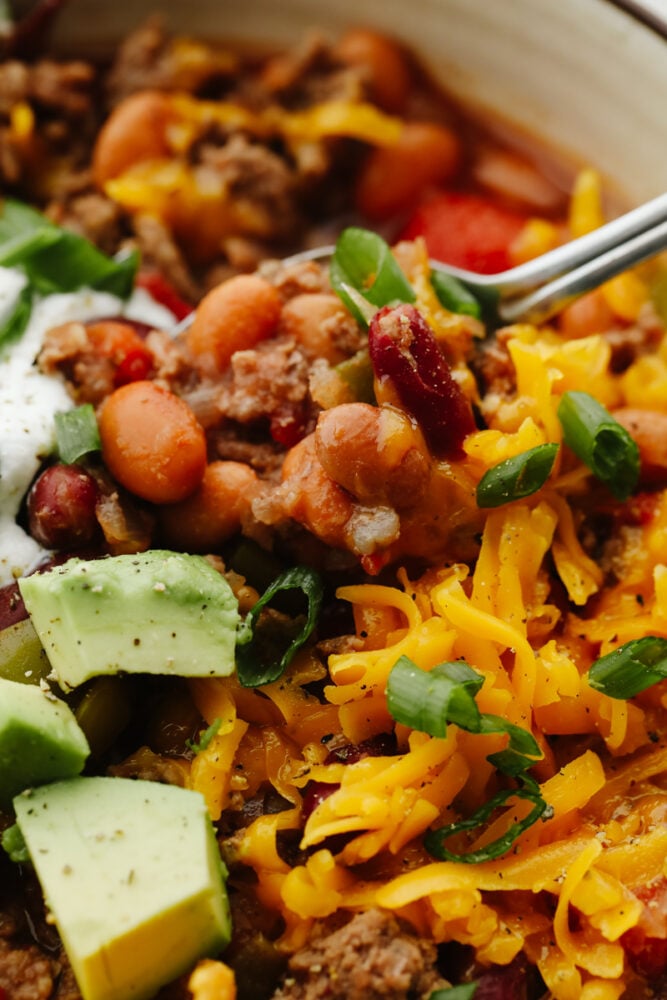
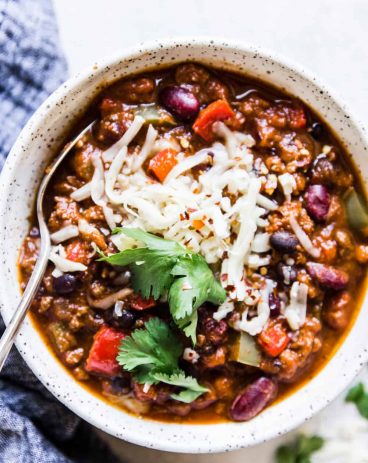
A close up of chili with a spoon scooping some out of a bowl.
Print

Insanely Good Crockpot Chili

Crockpot chili is the ultimate comfort food! This chili is SO easy and insanely good that everyone will come back for seconds!
Course Dinner, main dish
Cuisine American
Keyword chili, crockpot chili
Prep Time 15 minutes
Cook Time 6 hours
Total Time 6 hours 15 minutes
Servings 6 people
Calories 259kcal
Author Alyssa Rivers

Ingredients

  • 2 pounds lean ground beef
  • 1 tablespoon olive oil
  • 1 small onion diced
  • 1 green bell pepper diced
  • 2 garlic cloves minced
  • 2 cups beef broth
  • 1 (8-ounce) can tomato sauce
  • 1 (15-ounce) can diced tomatoes undrained
  • 1 (15-ounce can) pinto beans
  • 1 (15-ounce can) kidney beans
  • 3 Tablespoons chili powder
  • 1 Tablespoon oregano
  • 1 teaspoon cumin
  • 1 teaspoon coriander
  • 1 teaspoon salt
  • 1/4 teaspoon cayenne

Instructions

  • In a medium-sized skillet over medium-high heat cook and crumble the beef for about 7 minutes or until brown.
  • Add the beef, onion, bell pepper, garlic, beef broth, tomato sauce, diced tomatoes, pinto beans, kidney beans, chili powder, oregano, cumin, coriander, salt, and cayenne to the crockpot.
  • Stir everything until combined. Cook on low for 5-6 hours. Serve warm with desired toppings.

Nutrition

Serving: 6people | Calories: 259kcal | Carbohydrates: 5g | Protein: 34g | Fat: 11g | Saturated Fat: 4g | Polyunsaturated Fat: 1g | Monounsaturated Fat: 5g | Trans Fat: 1g | Cholesterol: 94mg | Sodium: 854mg | Potassium: 721mg | Fiber: 2g | Sugar: 1g | Vitamin A: 1315IU | Vitamin C: 17mg | Calcium: 55mg | Iron: 5mg

Dec 7, 2021

Baklava

A step-by-step guide (and video) for how to make homemade baklava with perfectly crispy golden layers of phyllo, your choice of nuts, and lovely citrus honey syrup.

Homemade baklava has been on my culinary bucket list for years and years and years. So last December, I finally decided to have a little baklavathon and spent the whole month learning about the different baklava styles and food traditions from around the world, testing out various baklava recipes, and refining our own family’s favorites. And turns out — I enjoy making baklava so much. ♡

To be sure, baklava is a labor of love that will always require a few patient hours of your time to prep, assemble and bake. But as you’ll see in the video demonstration below, the process for how to make this particular style of baklava is genuinely quite simple. (No fancy techniques or equipment required.) And as someone who tends to find repetitive baking projects quite relaxing and meditative, I actually really enjoyed all of the chopping and brushing that goes into creating all 40 of those lovely, flaky, honey-soaked layers.

There are of course endless different ways that you can make baklava, depending on which food tradition you happen to be following. But the recipe our family loved best ended up being a bit of a mix between Greek and Turkish-style baklava, made with lots of buttery, golden, flaky sheets of phyllo, a mix of pistachios and walnuts, honey-sweetened syrup, plus a touch of warming spices and orange blossom water added in for extra depth of flavor. And my goodness, it is so decadent and SO delicious.

It’s the perfect project for easy weekend days or — now that we have a very active 8-month old around this holiday season — some blissfully uninterrupted solo baking time in the evening once the little ones finally go to sleep. And it also makes for a great gift if you feel like sharing some sweet treats with friends and family season. (Oohs and ahhs are guaranteed!)

If you’re new to making baklava, I would strongly recommend reading the notes and tips below before starting the recipe. But I promise that it’s truly easy to make and will be worth the time and effort. So grab your apron and let’s make some homemade baklava!

(more…)


source https://www.gimmesomeoven.com/baklava-recipe/

Dec 6, 2021

No Bake Haystack Cookies (2 Ways!)

Haystack cookies are perfect for the holidays! They are festive, have the perfect crunch, and are so good that you won’t be able to stop at just one!

I love holiday cookies! If you want to try out some more of my favorites then you should make these Italian Christmas Cookies, Linzer Cookies, or these amazing Madeleines!

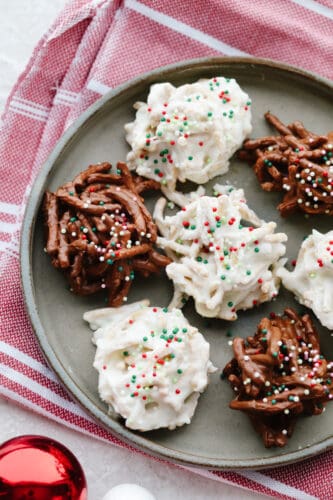
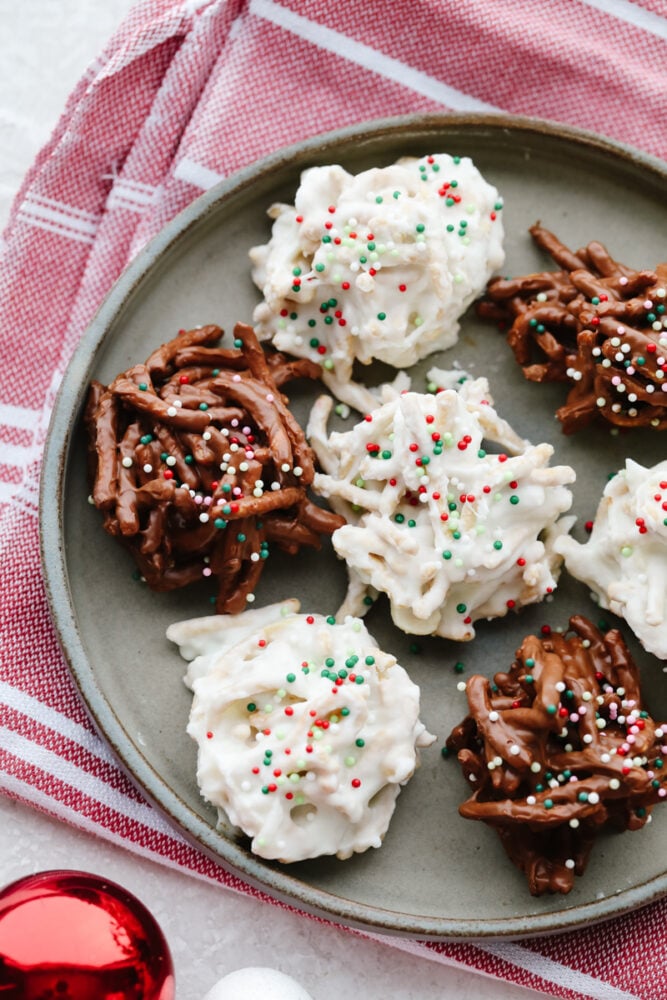
No bake haystack cookies with sprinkles.

What Are Haystack Cookies?

Ok, I know that the holiday season is about more than food but can we all agree that holiday desserts are the best part? I mean there are SO many to try like this Cinnamon Roll Wreath, these Grinch Cookies, this amazing Christmas Star Bread, or these darling Christmas Cornflake Wreaths. Not only do holiday treats look so festive but they taste amazing as well! And I think that these haystack cookies belong at the top of that list!

Haystack cookies are SO easy to make! My kids love helping me with them! All you need is some chow mein noodles, chocolate (white or milk works the best!), marshmallows, and some festive sprinkles. And voila! You have yourself these beautiful, tasty, and easy-to-make treats! Oh, and did I mention that you should probably double the batch? Because these will fly off your table so fast that you will wish that you had made more!

Ingredients for White Chocolate Haystack Cookies

There are two ways to make these cookies! I like to make them both but if you want, you could just make one! See the recipe card at the bottom of the post for exact measurements.

  • White chocolate chips: These go SO well with the marshmallow flavor!
  • Marshmallows: Use mini marshmallows so that they mix in better.
  • Peanuts: These are totally optional in this recipe!
  • Chow mein noodles: These create such a delicious crunch!
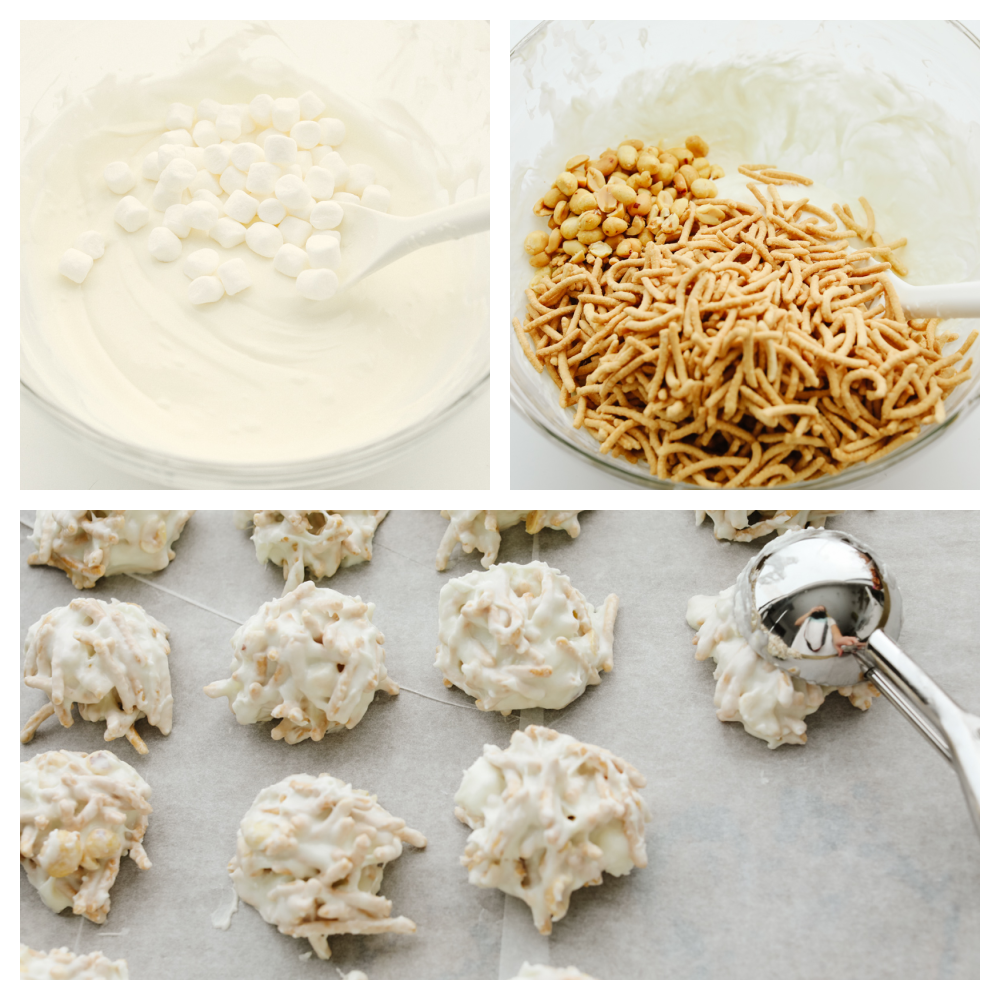
3 pictures showing how to mix marshmallows and white chocolate with chow mein noodles.

How to Make White Chocolate Haystack Cookies

These cookies are so easy! I love a good no-bake option for the holidays. They are quick easy and SO delicious.

  1. Mix and melt: In a large microwave safe bowl add the White Chocolate Chips Microwave stirring after every 30 seconds until melted and smooth. Add in marshmallows and stir and cook for 30 more seconds.
  2. Combine and top with sprinkles: Add in the bag of chow Mein noodles and mix until combined. Scoop out 2 tablespoons of the mixture and place on parchment paper. Top with sprinkles
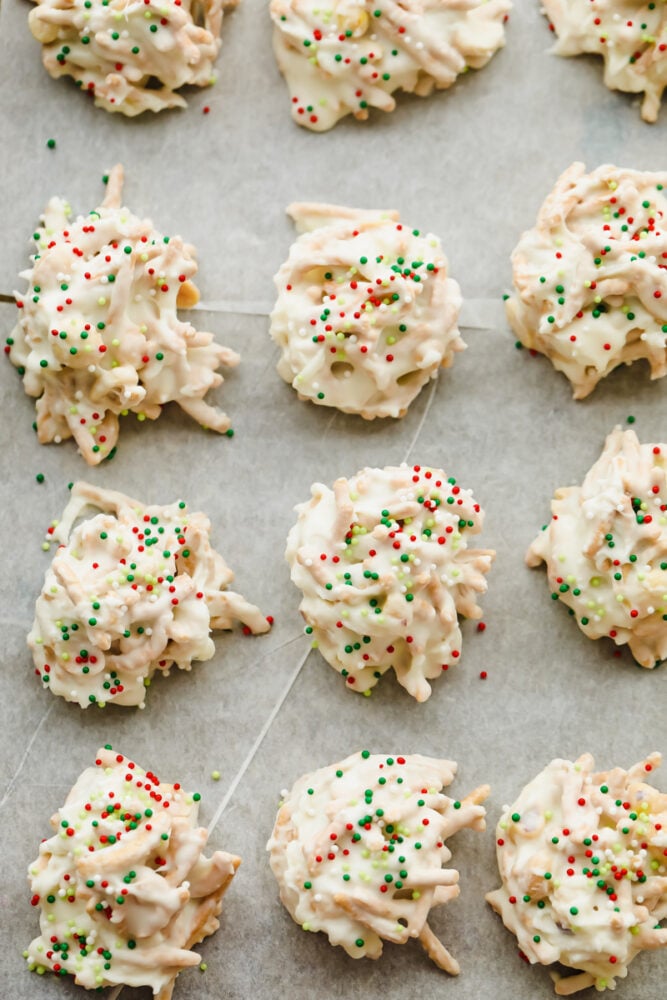
A zoomed in picture of a white chocolate haystack cookie.

Ingredients for Chocolate Haystack Cookies

I can’t decide which one is better, the white chocolate or these ones! I guess you will have to make them both and decide for yourself!

  • Semisweet chocolate chips: The semi sweet bring in that chocolate flavor!
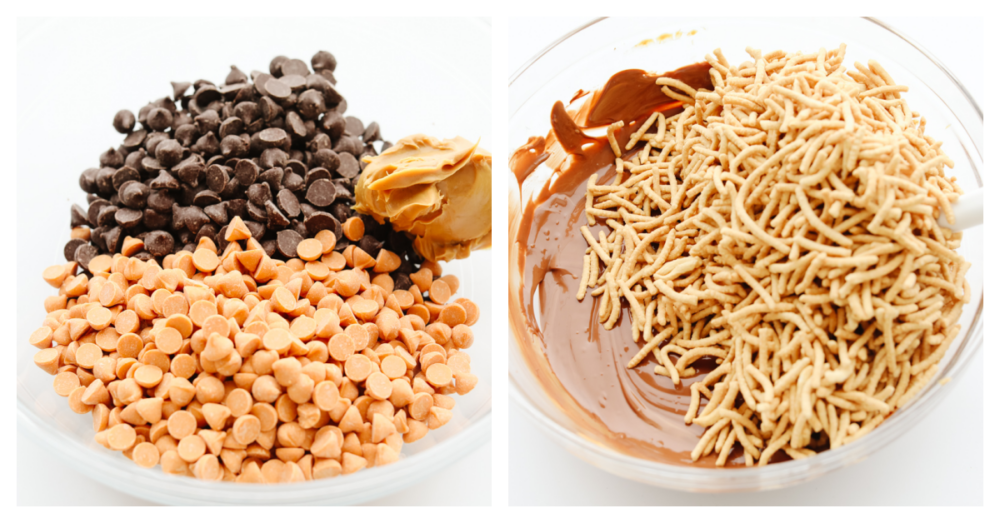
  • Butterscotch chips: These bring in the BEST taste!
  • Peanut butter: I like to use creamy peanut butter but you can use whatever you have on hand!
  • Chow mein noodles: The perfect added crunch!
2 pictures showing how to mix chocolate and butterscotch with chow mein noodles.

How to Make Chocolate Haystack Cookies

The chocolate version of these cookies is just as delicious and the butterscotch really adds such an amazing taste! They are definitely a MUST TRY this holiday season!

  1. Mix ingredients until smooth: In a large microwave safe bowl add the chocolate chips, butterscotch chips, and peanut butter. Microwave stirring after every 30 seconds until melted and smooth.
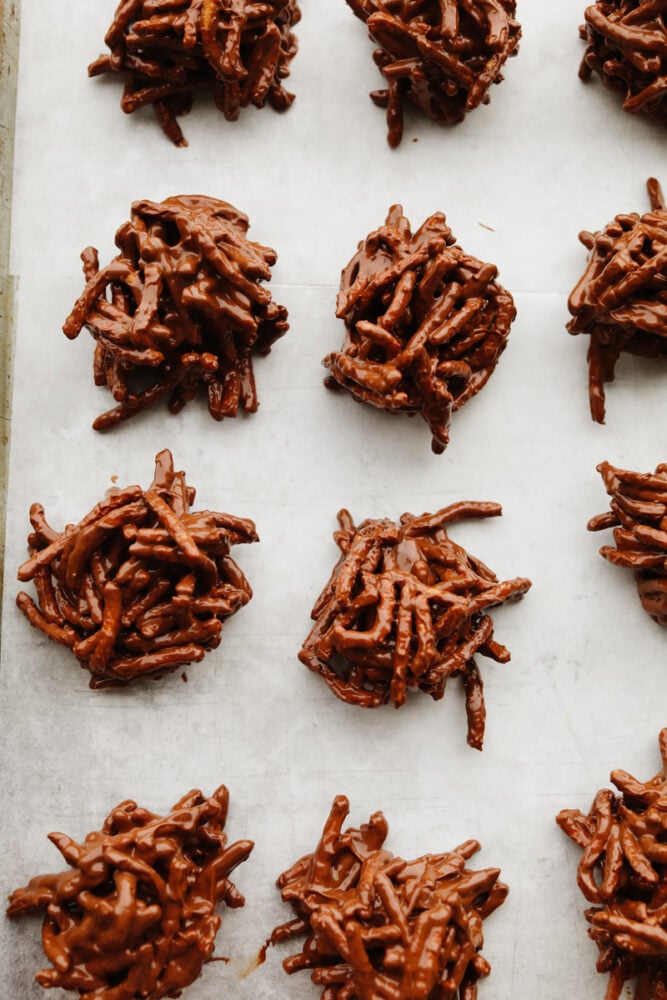
  2. Add chow mein noodles and top with sprinkles: Add in the bag of chow Mein noodles and mix until combined. Scoop out 2 tablespoons of the mixture and place on parchment paper. Top With sprinkles
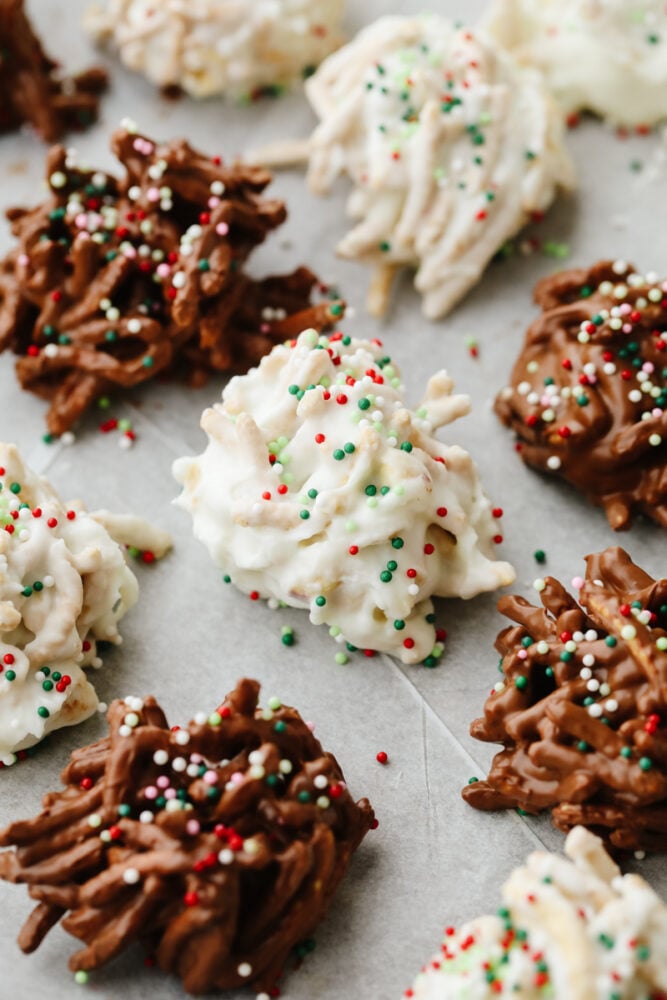
Chocolate haystack cookies on parchment paper on a baking sheet.

Variations

These haystack cookies are great for the holidays but you can easily change them up for any holiday or season! Here are some ideas on how you can do that!

  • Get colored baking chocolate: Get some baking chocolate in different colors and mix things up! Then, you can make it go with a theme or any holiday that you want!
  • Change the sprinkles: You can make the sprinkles different colors! Orange for halloween, pastels for easter and red white and blue for the 4th of July!
  • Add mint chips: Instead of using butterscotch chips, try using mint chips instead! They are so yummy and add in a totally different flavor!
Haystack cookies on a plate.

How to Store Leftovers

These cookies are great to make ahead of time! Once the chocolate has cooled then place these in an airtight container on your counter. They will last 4-5 days!

Print

No Bake Haystack Cookies (2 Ways!)

Haystack cookies are perfect for the holidays! They are festive, have the perfect crunch, and are so good that you won't be able to stop at just one!
Course Dessert
Cuisine American
Keyword haystack cookies
Prep Time 15 minutes
Total Time 15 minutes
Servings 24 haystacks
Calories 719kcal
Author Alyssa Rivers

Ingredients

White Chocolate Haystacks:

  • 4 cups white chocolate chips
  • 1/2 cup marshmallows
  • 1/2 cup peanuts optional
  • 4 cups chow mein noodles

Chocolate Haystacks:

  • 2 cups semisweet chocolates
  • 2 cups butterscotch
  • 1/4 cup peanut butter
  • 4 cups chow mein noodles

Instructions

To make the white chocolate haystacks:

  • In a large microwave-safe bowl add the White Chocolate Chips Microwave stirring after every 30 seconds until melted and smooth. Add in marshmallows and stir and cook for 30 more seconds.
  • Add in the bag of chow Mein noodles and mix until combined. Scoop out 2 tablespoons of the mixture and place on parchment paper. Top with sprinkles

To make the chocolate haystacks:

  • In a large microwave-safe bowl add the chocolate chips, butterscotch chips, and peanut butter. Microwave stirring after every 30 seconds until melted and smooth.
  • Add in the bag of chow Mein noodles and mix until combined. Scoop out 2 tablespoons of the mixture and place on parchment paper. Top With sprinkles

Nutrition

Calories: 719kcal | Carbohydrates: 102g | Protein: 16g | Fat: 28g | Saturated Fat: 16g | Polyunsaturated Fat: 2g | Monounsaturated Fat: 6g | Trans Fat: 1g | Cholesterol: 7mg | Sodium: 561mg | Potassium: 227mg | Fiber: 6g | Sugar: 45g | Vitamin A: 17IU | Vitamin C: 1mg | Calcium: 83mg | Iron: 4mg

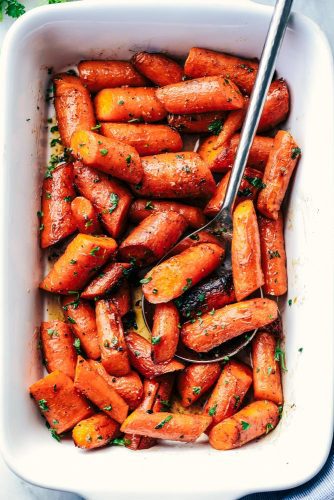
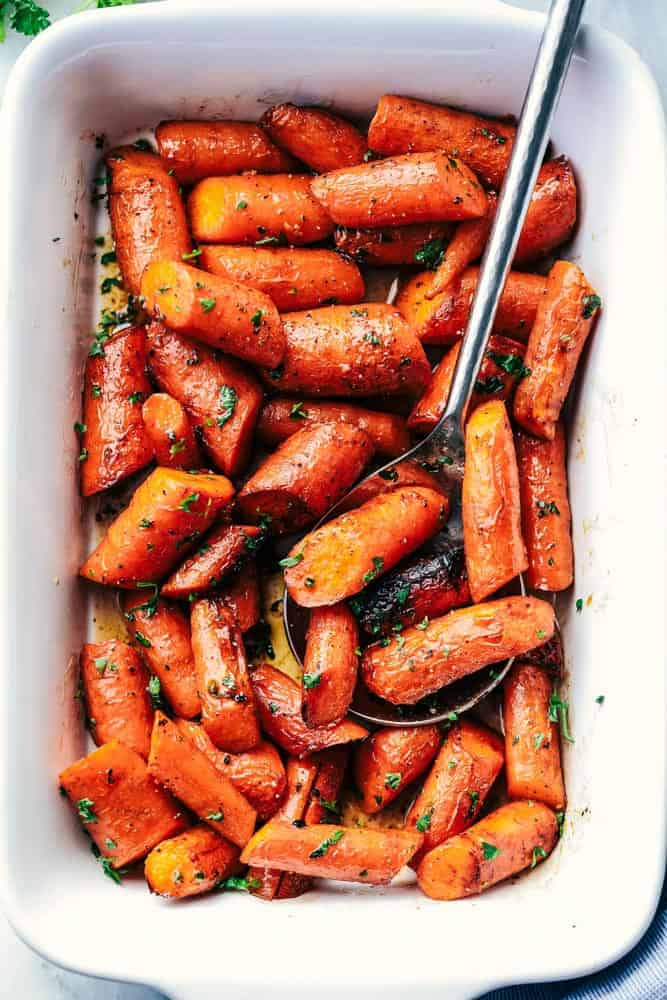
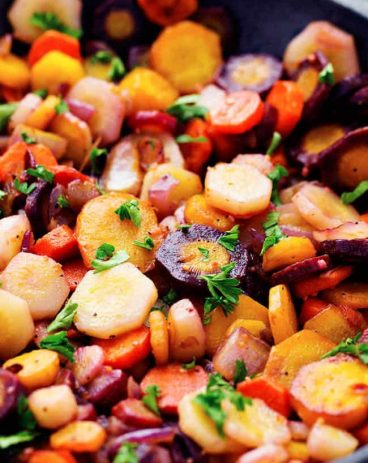
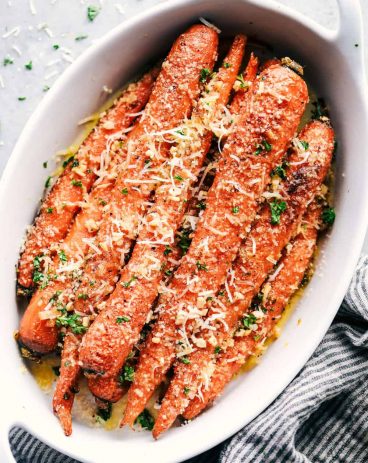
Roasted Brown Butter Honey Garlic Carrots

Roasted brown butter honey garlic carrots make an excellent side dish. Roasted to tender perfection in the most incredible sauce these will become a new favorite! 

I love these tried and true carrots! They are a MUST TRY side dish and go so well with these Green Beans with Bacon, Cauliflower, or Mashed Potatoes.

Roasted Brown Butter Honey Garlic Carrots

Roasted Brown Butter Honey Garlic Carrots

A good side dish is something that I think everyone needs to have on hand. I looooove these carrots because the brown butter glaze really takes them to the next level! The taste is so delicious and goes with just about everything. Plus, they are SO easy to make! Tastes good and is easy to make is a win-win! I mean, it doesn’t get much better than that! Try making this salad, these rolls, and this asparagus to go with them!

Brown butter is life. I am convinced that it makes everything better. This made me want to create something with this perfect combination! I made these carrots only once and they turned out more than perfect. They are soft, a little crispy, and had just the right amount of flavor to them. My family ate these carrots before we even finished sitting down together. They are simple to make and taste just SOO GOOD.

Ingredients to Make Brown Butter Honey Garlic Carrots

These tried and true carrots make such a perfect side to your next meal. I promise that you will agree that these carrots are the best that you have ever had! See the recipe card at the bottom of the post for exact measurements.

  • Carrots: You can use large carrots and cut them up or you can use baby carrots instead!
  • Butter: I used unsalted butter in this recipe!
  • Honey: The honey brings in a sweet taste without being too much.
  • Garlic cloves: If you don’t have any cloves then you can just use minced garlic! ½ tsp equals about 1 clove of garlic.
  • Salt and pepper: I use this to tatste so it’s all about personal preference.
  • Parsley: If you decide to use this as a garnish, fresh parsley works the best!

Let’s Make Brown Butter Honey Garlic Carrots!

I love to roast my veggies because it gives them a tender center and a crisp edge. It only takes about 15 minutes until these carrots are done and they are going to really be the star of the dinner table.

  1. Preheat oven and cook butter: Preheat oven to 425 degrees. In a medium saucepan add the butter and cook over medium high heat. Continue to whisk for a few minutes until the butter starts to become frothy and brown. Add the honey and garlic and remove from heat.
  2. Toss and season: In a large bowl add the carrots and drizzle the sauce on top. Toss until coated and spread evenly on a large baking sheet. Season with salt and pepper.
  3. Bake and garnish: Bake for 15-20 minutes or until carrots are tender. I like to cover with foil for the first 10 minutes and then remove and let roast and brown for the last 10 minutes. Transfer to a serving dish and garnish with parsley. Serve immediately.
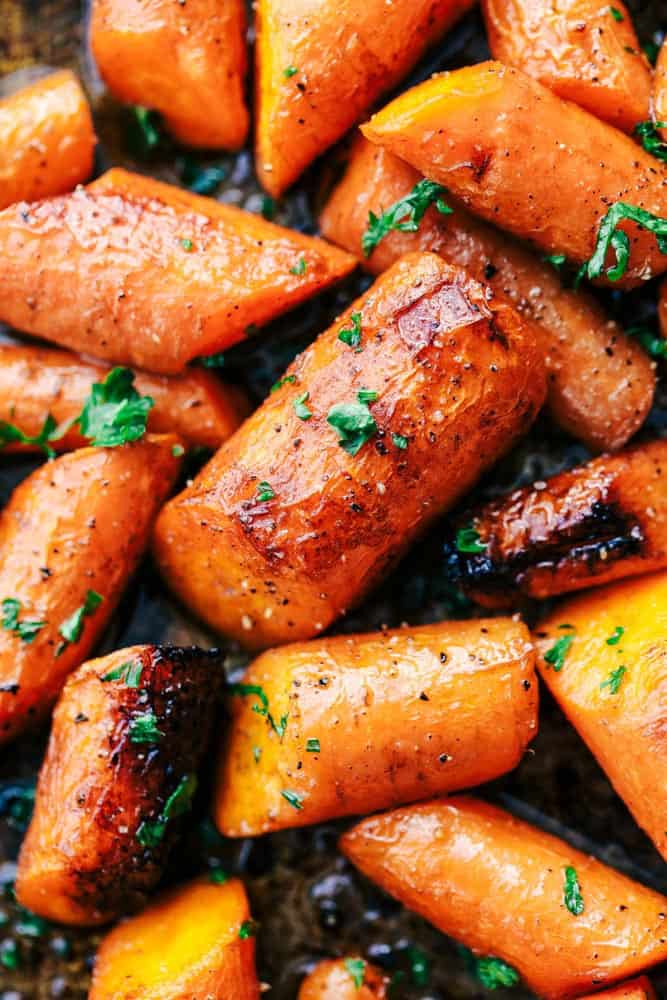
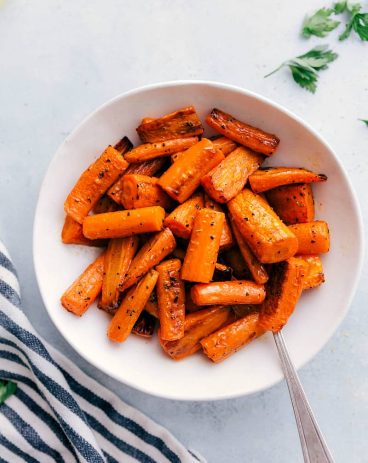
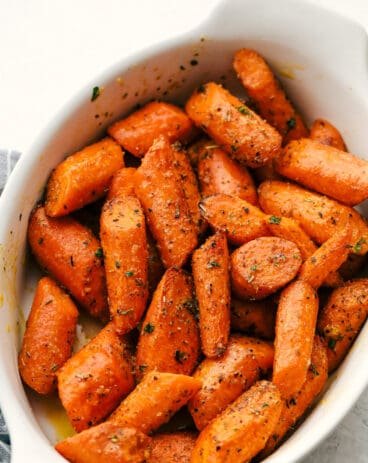
Roasted Brown Butter Honey Garlic Carrots close up.

Do Carrots Have to be Peeled before Cooking?

This brown butter carrots recipe can be made with large carrots or baby carrots. Baby carrots come already peeled so it doesn’t matter with those. It’s just the large carrots! But, when it comes down to it, you don’t ever really have to peel carrots. As long as you wash and scrub them well to remove dirt and any debris, unpeeled carrots are perfectly safe (and delicious) to eat. Some people don’t like the taste of carrot skin and say it has an unpleasant, bitter taste.

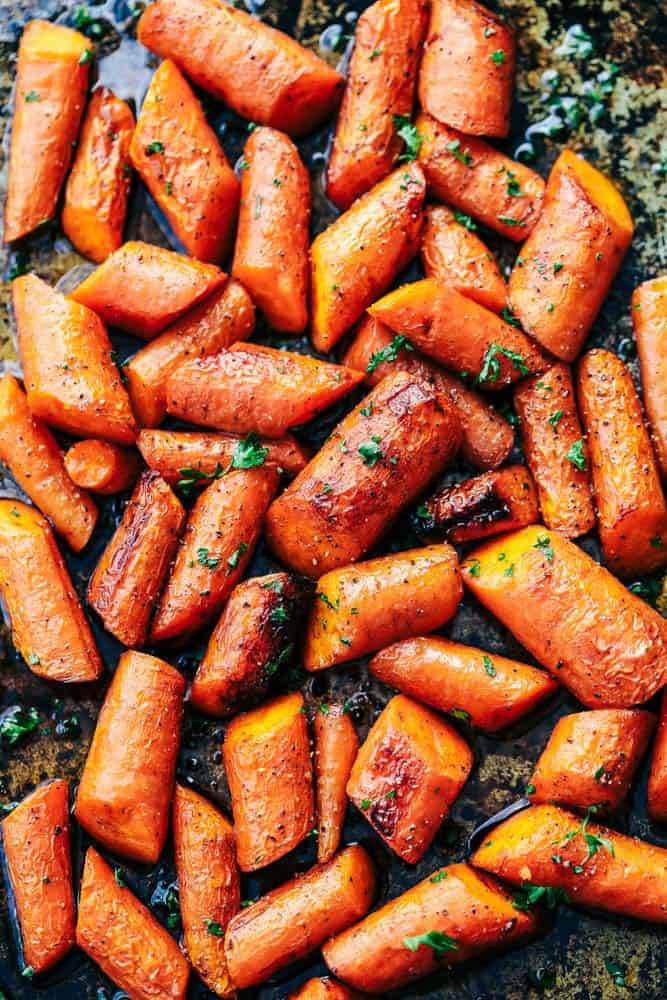
Roasted carrots spread out on a trayl

How to Make These Ahead of Time

These brown butter carrots are so good and something that you will be tempted to add to every meal that you make! Here is how you can store them to eat later!

  • Make ahead of time: Carrots may be prepared up to 3 days ahead. Once you have cooked them according to the directions, wait for them to cool. Cover them in an airtight container and refrigerate them. When you are ready to eat them then toss cook them on the stove over medium-high heat. Stir and toss them constantly until the carrots are tender and well glazed. This takes about 5 minutes!

A Reader’s Review

Made these for Thanksgiving dinner. They were a big hit! Everyone loved them. Not difficult or time consuming to make!
Karen
Print

Roasted Brown Butter Honey Garlic Carrots

Roasted brown butter honey garlic carrots make an excellent side dish. Roasted to tender perfection in the most incredible sauce these will become a new favorite! 
Course Side Dish
Cuisine American
Keyword garlic roasted carrots
Prep Time 5 minutes
Cook Time 20 minutes
Total Time 25 minutes
Servings 6 people
Calories 231kcal
Author Alyssa Rivers

Ingredients

  • 2 pounds large carrots cut into 2 inch pieces (baby carrots will also work)
  • 1/2 cup butter
  • 3 Tablespoons honey
  • 2 garlic cloves chopped
  • salt and pepper
  • parsley chopped for garnish

Instructions

  • Preheat oven to 425 degrees. In a medium saucepan add the butter and cook over medium-high heat. Continue to whisk for a few minutes until the butter starts to become frothy and brown. Add the honey and garlic and remove from heat.
  • In a large bowl add the carrots and drizzle the sauce on top. Toss until coated and spread evenly on a large baking sheet. Season with salt and pepper.
  • Bake for 15-20 minutes or until carrots are tender. (see note) Transfer to a serving dish and garnish with parsley. Serve immediately.

Notes

** I like to cover with foil for the first 10 minutes and then remove and let roast and brown for the last 10 minutes.
Updated on December 6, 2021
Originally Posted on March 19, 2019

Nutrition

Calories: 231kcal | Carbohydrates: 23g | Protein: 2g | Fat: 16g | Saturated Fat: 10g | Polyunsaturated Fat: 1g | Monounsaturated Fat: 4g | Trans Fat: 1g | Cholesterol: 41mg | Sodium: 240mg | Potassium: 498mg | Fiber: 4g | Sugar: 16g | Vitamin A: 25732IU | Vitamin C: 9mg | Calcium: 57mg | Iron: 1mg